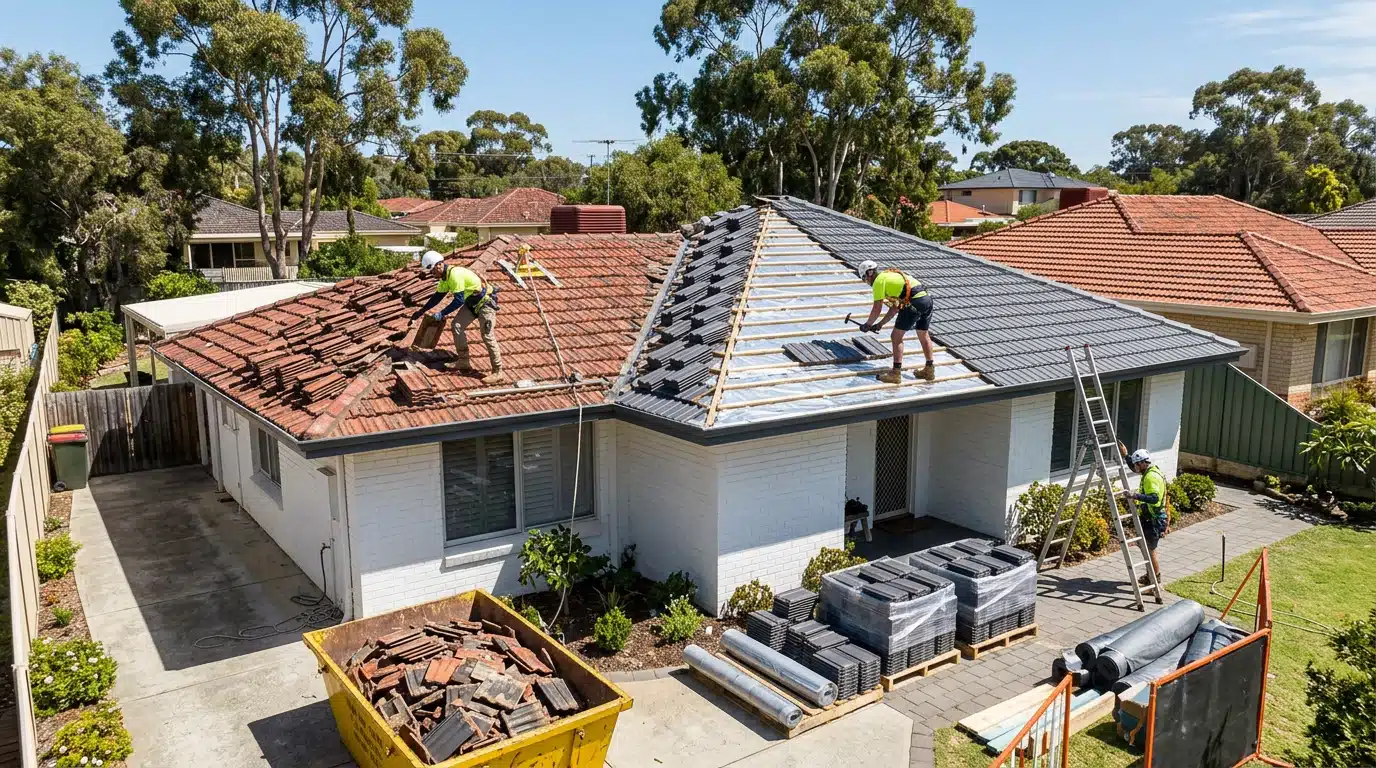
A roof replacement is one of the more significant home improvement projects Perth homeowners undertake. The roof replacement process involves removing existing roofing materials and installing a new roofing system, with the exact scope depending on the condition of the roof structure, selected materials and property design.
Understanding what happens during a complete roof replacement can make the project easier to plan. It helps homeowners prepare for noise, site access, material deliveries and temporary disruption while giving them a clearer idea of how the work progresses.
Perth conditions also influence how roofing projects are managed. Strong summer sun, winter rainfall, coastal exposure and the design of individual properties can all affect the timing and requirements of the work.
This walkthrough explains the roof replacement process from the initial assessment through to final inspection, including what homeowners can expect at each stage and which factors may change the schedule.
Pre-Project Planning and Assessment
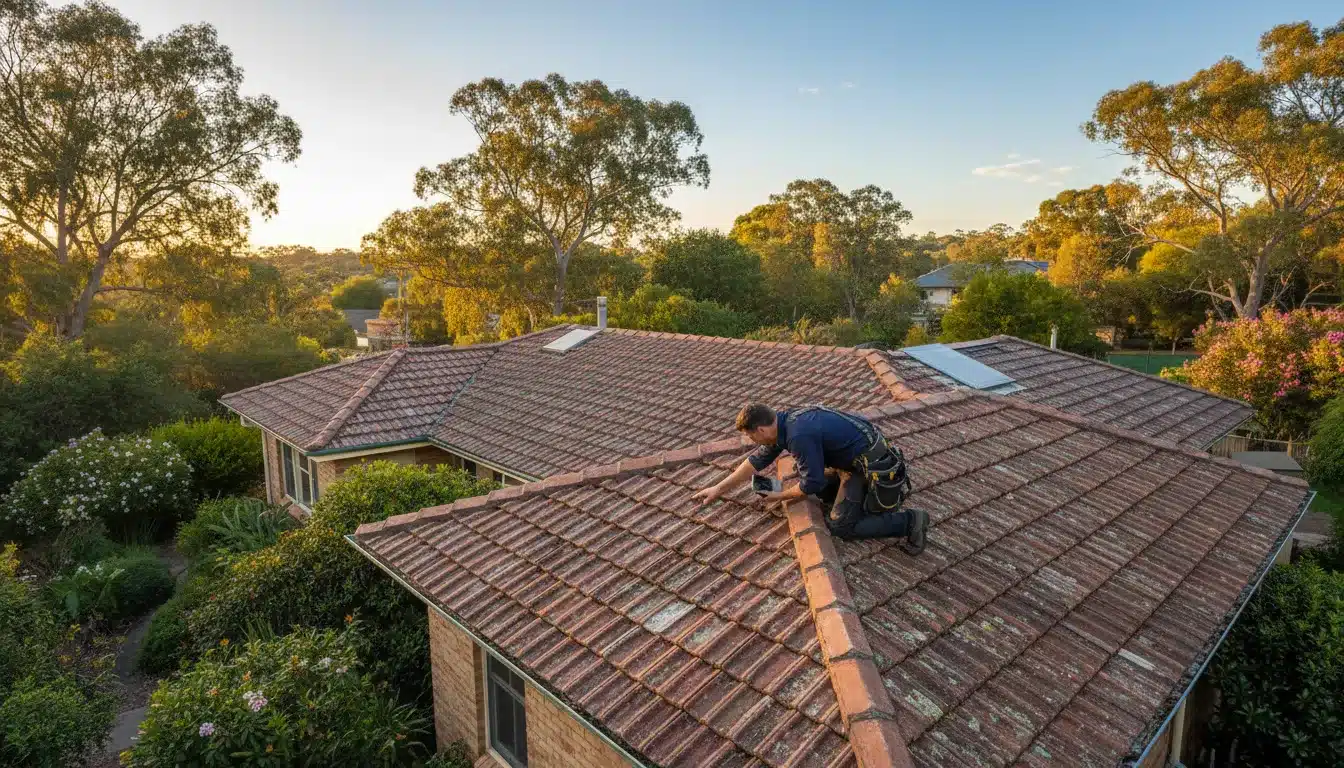
Before physical work begins, a professional roofing assessment establishes whether complete replacement is appropriate and identifies the work required. This stage is particularly important because the visible roof surface does not always reveal the condition of the materials underneath.
Assessment and Material Selection
The assessment considers the existing roofing material, roof design, visible deterioration and the condition of accessible structural components. Where the roof is structurally sound, restoration may remain a suitable alternative to replacement. Where deterioration is extensive or the existing system has reached the end of its practical service life, re-roofing may be more appropriate.
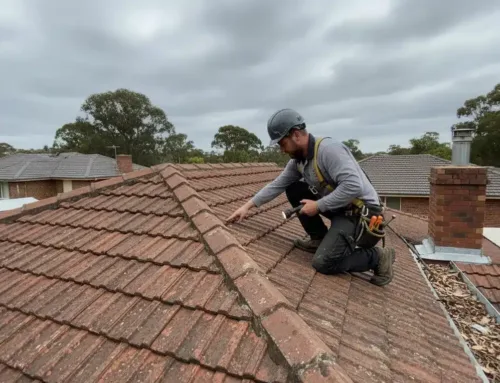
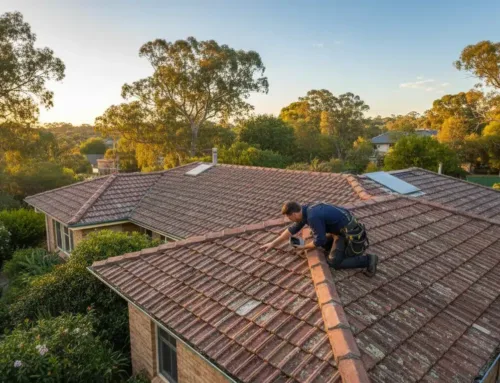
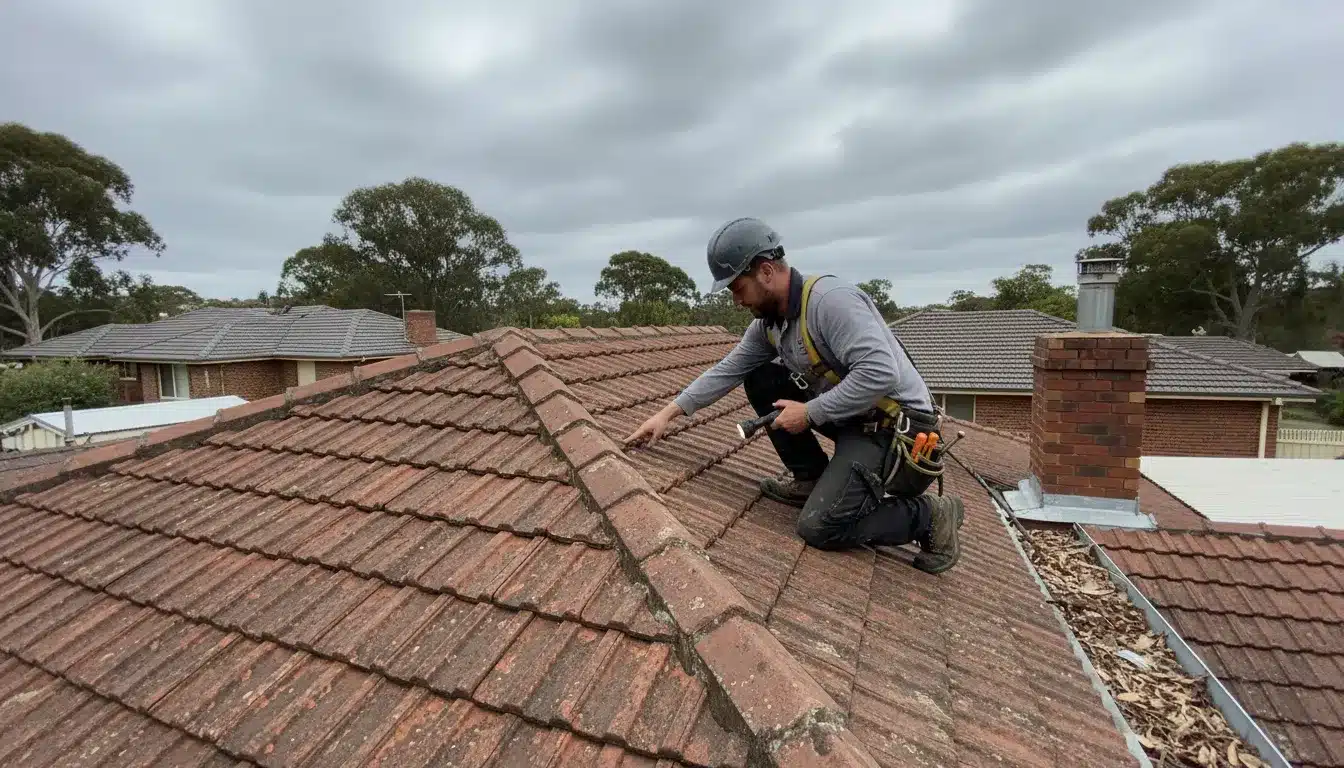
A complete roof replacement in Perth can involve removing existing tiles or metal sheeting and assessing the underlying structure before the new system is installed.
Material selection is also settled during the planning stage. Perth homeowners may consider metal roofing or concrete and terracotta tiles depending on the property’s design, structural requirements, appearance and budget.
The selected material affects the roof replacement process because metal sheets and individual tiles require different handling, fixing and installation methods.
Older properties may also require additional investigation if there are signs of deteriorated timber, previous water damage or other problems hidden beneath the existing roof.
The Week Before Installation
The preparation period focuses on confirming materials, access requirements, scheduling and site arrangements.
Material Delivery and Site Preparation
Once the roofing material has been selected, suppliers and installers coordinate delivery according to the project schedule. The timing varies depending on material availability, product selection and the size and complexity of the roof.
Homeowners should ensure there is suitable access around the property for workers, equipment and material handling. Space may also be required for waste containers and temporary storage.
Interior preparation is useful as well. Construction activity can create vibration and noise, particularly during old roof removal. Securing fragile objects and moving valuable items away from areas directly beneath the work can help minimise the risk of accidental disturbance.
If additional roof repairs in Perth are identified during planning, these should be incorporated into the project scope rather than treated as an unexpected issue after installation has already started.
Permits and Project Requirements
Permit requirements depend on the nature of the proposed work, the property and the applicable local requirements. Homeowners should confirm whether approvals are required before construction begins rather than assuming every roof replacement follows the same process.
Projects involving structural alterations or other significant changes may have different approval requirements from straightforward replacement of existing roofing materials.
Day 1: Scaffolding and Site Setup
The first day of physical work generally focuses on establishing a safe and organised work area.
Scaffolding or other suitable access systems may be installed where required. The configuration depends on the property’s height, roof design, access conditions and the work being undertaken.
Safety measures are established around the work area, while ground protection can be used to help protect landscaping, paving and other exposed surfaces from construction activity.
Waste management is also planned at this stage. Removing the old roof generates substantial quantities of discarded roofing material, particularly when an existing tiled roof is being completely stripped.
Before removal begins, the team should also confirm the roof areas being worked on and review any site-specific access or safety considerations.
Days 2 to 3: Old Roof Removal
The old roof removal stage is one of the most noticeable parts of the roof replacement process. It creates more noise and activity than many of the later installation stages, so homeowners should plan accordingly.
Removing Existing Roofing Materials
Tile and metal roofs are removed using different techniques.
Metal sheets can generally be removed in larger sections, while tiled roofs require individual tiles to be handled and removed systematically. The method used depends on the existing roof construction and the condition of the materials.
Once the main roofing material has been removed, previously concealed components become accessible for closer assessment.
This is one of the major advantages of the roof replacement process. Removing the existing roof allows installers to inspect areas that could not be properly assessed while the old covering remained in place.
What Old Roof Removal Can Reveal
The old roof removal stage may reveal deteriorated battens, damaged sarking, timber deterioration or evidence of previous moisture problems.
Not every project will require structural repairs. However, if compromised materials are discovered, they should be addressed before the new roof is installed.
This is also why homeowners should be cautious about assuming that a roof replacement schedule can be predicted to the exact day before the existing roof has been removed. Hidden conditions can change the scope of work.
During periods of unsettled weather, exposed roof areas also require appropriate temporary protection and weather monitoring.
Permacoat has experience with Perth roofing projects and can assess the condition of the existing roof before replacement work proceeds.
Days 4 to 5: Structural Repairs and Preparation
After the existing roofing material has been removed, attention turns to preparing the roof structure for the new system.
Timber and Structural Components
Accessible battens and other supporting components are checked for deterioration. Any necessary repairs or replacement work should be completed before the new roofing material is installed.
The extent of this work varies considerably between properties. A roof that has remained relatively well maintained may require little additional preparation, while an older roof with long-term moisture exposure may require more extensive work.
This stage is therefore an important part of the roof replacement process rather than simply a gap between removing the old roof and installing the new one.
Sarking and Underlay
Where required by the roofing system, new sarking or underlay is installed as part of the preparation process. The product and installation method should be appropriate for the roof design and applicable requirements.
Sarking can provide a secondary layer of protection beneath the roof covering and may contribute to moisture management and thermal performance. Its exact role depends on the roofing system, product specifications and installation details.
Valleys and Flashings
Valleys and flashings receive particular attention because they are important parts of the roof’s water management system.
Valley trays, flashing around penetrations and junctions with walls or other structures must be correctly installed and integrated with the new roof covering.
These details are especially important because a roof can have excellent-looking tiles or metal sheets while still experiencing leaks if junctions and drainage details are poorly executed.
Days 6 to 8: New Roof Installation
Once the underlying structure is ready, the new roofing material can be installed.
The exact duration depends on roof size, pitch, design complexity, material and site conditions. Consequently, the roof replacement process does not follow an identical timetable for every Perth property.
Metal Roofing Installation
Metal roofing can often be installed relatively quickly because sheets cover larger areas than individual tiles.
The installer positions and fixes the sheets according to the applicable product requirements. Flashings, valleys, ridge components and penetrations are then integrated into the completed roofing system.
Attention to fixing, sheet alignment, overlaps and junction details is important for long-term weather resistance.
Tile Roofing Installation
Tile installation generally involves more individual components and therefore requires more handling.
Tiles are positioned across the roof in accordance with the roofing system and roof design. Areas around valleys, penetrations and roof edges require careful cutting and detailing.
Ridge tiles and associated finishing work are completed after the main field tiles have been installed.
The final duration depends on the property’s size and complexity. A simple single-storey roof may progress considerably faster than a large or multi-level property with numerous valleys and penetrations.
Gutter and Drainage Integration
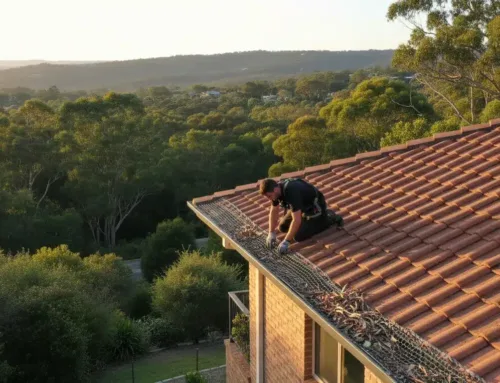
A replacement project may also identify opportunities to address associated drainage components. Where appropriate, gutter and downpipe services can be considered as part of the broader roofing work.
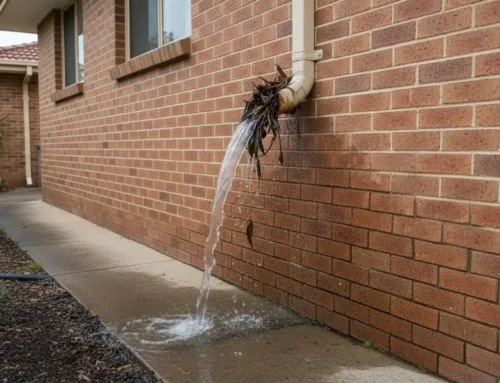
The objective is to ensure the completed roof and drainage system work together effectively, directing rainwater away from the building.
Day 9: Finishing Details and Cleanup
Once the main roof covering is installed, the project moves into its finishing stage.
Flashing, Ridge and Penetration Details
Flashing around chimneys, walls, vents, skylights and other penetrations is completed and checked.
These areas require careful workmanship because they interrupt the main roof surface and therefore need appropriate detailing to manage water movement.
Ridge components are also completed according to the roofing system. On tiled roofs, ridge capping and associated bedding or pointing work form part of the finishing process where applicable.
Site Cleanup
Construction waste is removed progressively throughout the project, with final cleanup occurring once installation is complete.
The property should be checked for leftover roofing materials and debris, while access areas and surrounding surfaces are cleared.
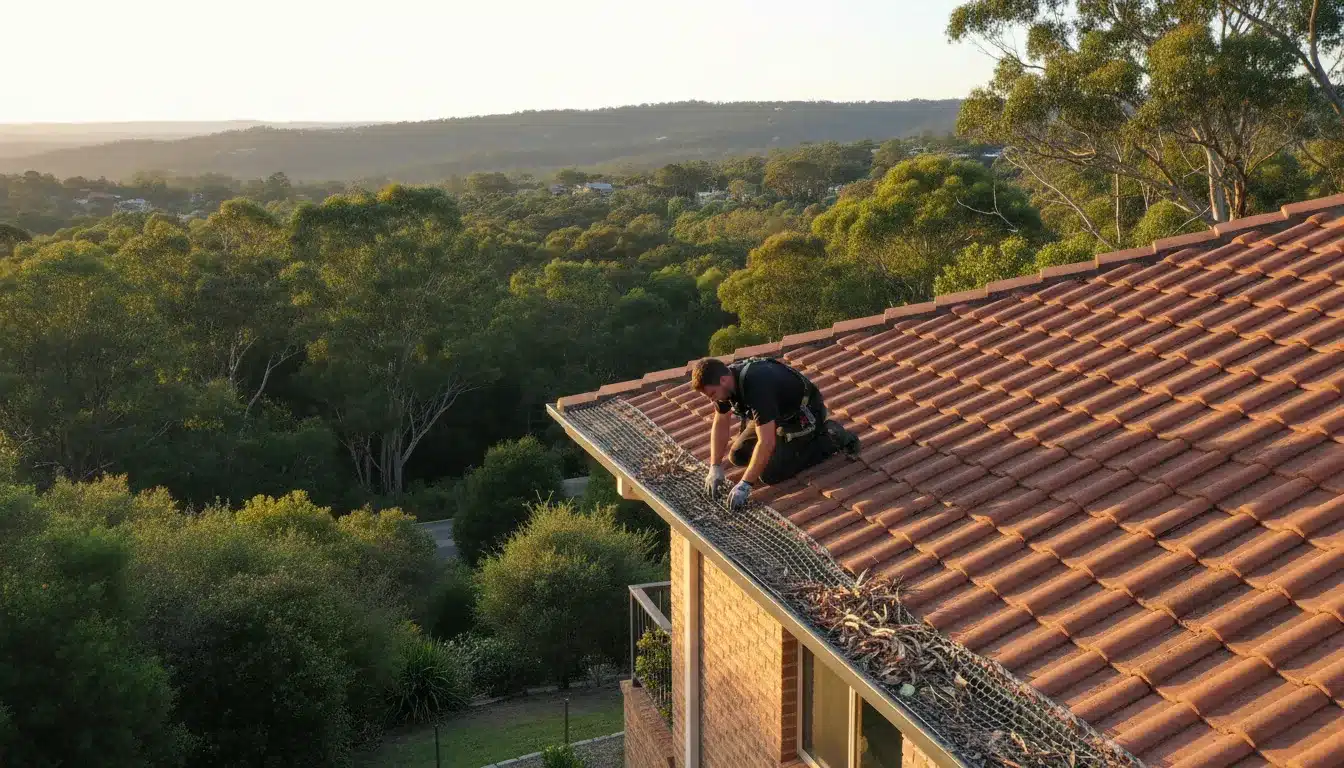
Where appropriate, gutters are also checked for installation debris before the site is handed back to the homeowner.
Day 10: Scaffolding Removal and Final Inspection
The final stage involves completing outstanding details, removing temporary access equipment where appropriate and carrying out a final review.
The inspection should assess the completed roof against the agreed scope of work. This includes checking the installation, visible flashing and junction details, drainage pathways and general workmanship.
Documentation relating to the project and applicable product or workmanship warranties should also be provided according to the agreed arrangements.
A homeowner walkthrough can be useful at this point. It gives the property owner an opportunity to understand the completed system, ask questions and discuss ongoing maintenance requirements.
Living in Your Home During Replacement
Many homeowners remain in their properties while the roof replacement process is underway. However, the project can still cause noticeable disruption.
The loudest stages are usually the old roof removal and installation of the new roofing materials. There may also be workers moving around the property, material deliveries and temporary restrictions around driveways or outdoor areas.
Dust and debris can also occur despite site protection measures. Closing windows and doors near active work areas can help reduce the amount of dust entering the home.
Families with young children or pets should keep them away from active work zones and stored materials throughout the project.
Factors That Can Change the Roof Replacement Timeline
The estimated schedule should be treated as a project guide rather than an absolute guarantee.
Weather Conditions
Rain and strong winds can affect roofing work because installers need suitable conditions to work safely and protect exposed roof areas.
Perth’s summer heat can also affect working conditions, while winter rainfall can interrupt outdoor construction. Weather-related delays do not necessarily indicate poor project management. In many cases, postponing exposed work is the safer option.
Hidden Structural Problems
Conditions discovered after the old roof removal can extend the project.
Examples include deteriorated timber, damaged battens, compromised sarking or previously concealed moisture damage. The additional time required depends on the extent of the problem and the materials needed to correct it.
This is one reason an accurate roof replacement timeline can only be confirmed with greater confidence once the existing roof has been assessed and removed.
Roof Size and Complexity
A straightforward single-storey roof with broad, accessible planes will generally be faster to replace than a large property with multiple levels, steep sections, numerous valleys and several penetrations.
Complex geometry increases cutting, flashing and installation requirements. It can therefore add working days even when the total roof area is not particularly large.
Material Selection
Metal and tiled roofing systems involve different installation processes. Tile roofs require individual tile placement, while metal roofing uses larger sheets.
The selected material therefore affects the duration of the roof replacement process, as does the availability of the chosen product.
Roof Replacement Process vs Roof Restoration
Not every deteriorated roof requires complete replacement.
A professional assessment may identify a structurally sound roof where cleaning, repairs and protective treatment can address the existing deterioration. In these circumstances, roof restoration can be a practical alternative to removing the entire roof system.
Permacoat’s published roofing information distinguishes restoration from re-roofing based on the condition and remaining viability of the existing roof.
For properties that genuinely require replacement, however, a complete re-roof provides the opportunity to remove ageing materials, inspect the underlying structure and install a new roofing system.
How to Prepare Your Property
Homeowners can take several simple steps to make the project easier to manage.
- Keep driveway and property access clear for workers and deliveries.
- Move fragile outdoor items away from active work areas.
- Protect or relocate valuable garden furniture where practical.
- Keep children and pets away from construction zones.
- Secure fragile indoor objects that may be affected by vibration.
- Discuss expected working hours and access arrangements with the roofing contractor.
- Plan for increased noise during the old roof removal stage.
- Keep communication open if weather or unexpected structural issues affect the schedule.
Good preparation does not eliminate every disruption, but it can make the roof replacement process considerably easier for everyone involved.
Post-Installation Care
Once the new roof is complete, regular maintenance remains important.
Homeowners should monitor gutters, valleys and visible roof areas and arrange professional attention if they notice leaks, damaged materials or drainage problems.
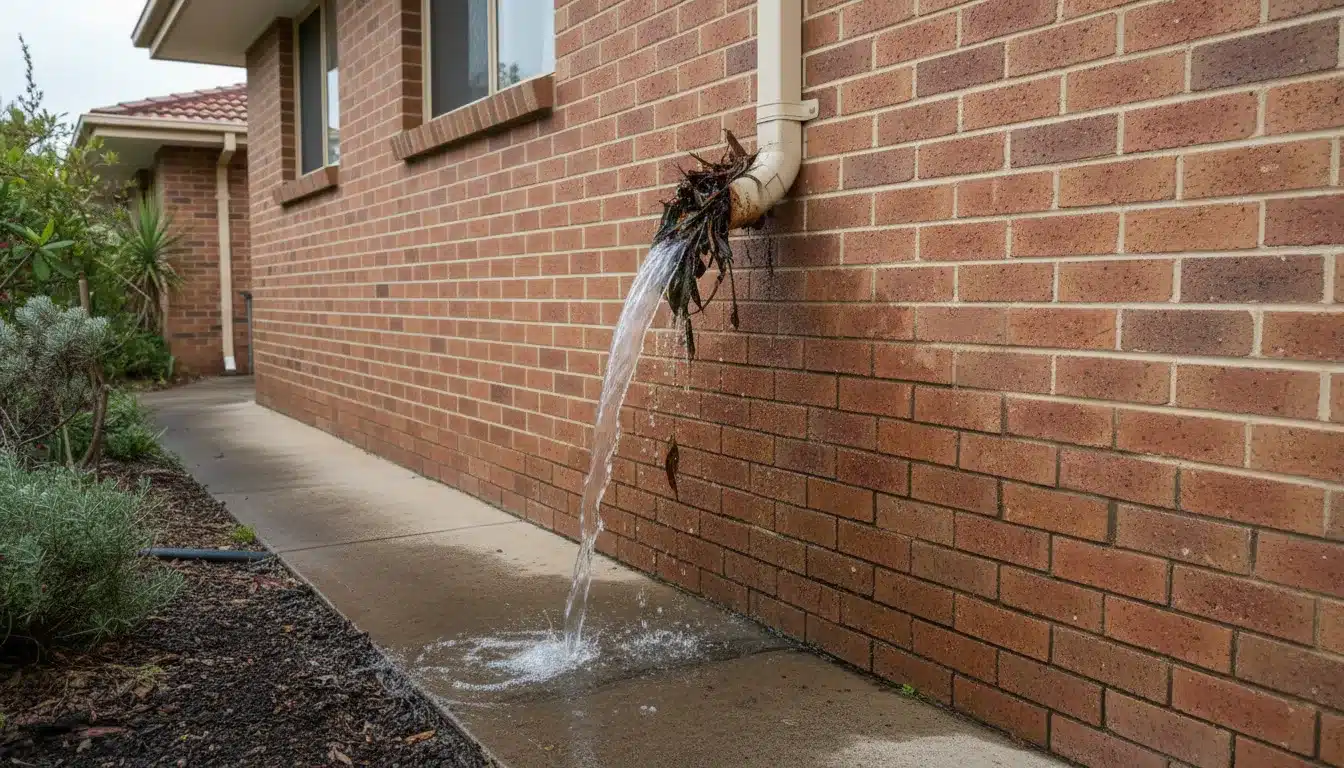
The first significant rainfall can also provide an opportunity to observe how water moves through the new drainage system. Any unexpected overflow or water entry should be reported promptly rather than left until a minor issue becomes more serious.
A new roof is a substantial investment, so appropriate maintenance helps protect the materials and workmanship for the long term.
Conclusion
The roof replacement process follows a logical sequence, from assessment and preparation through old roof removal, structural preparation, new material installation and final inspection. While a straightforward project may progress relatively quickly, property size, roof complexity, weather and concealed structural conditions can change the schedule.
The most important step is to establish the condition and requirements of the existing roof before work begins. This allows the scope to be planned properly and gives homeowners a clearer understanding of what to expect once installation starts.
If you are considering a complete re-roof and want to discuss the appropriate approach for your property, Call (08) 9249 5955 to speak with Permacoat.