Multi-level roofs can hide leaks far better than simple roof shapes. Water ingress is traced by reading the roof from the highest catchment to the lowest visible symptom, then matching stains and cavity clues to the route rainwater can take through roof planes, junctions and drainage points.
A mark on a lower ceiling may begin on an upper roof, behind wall flashing or where several drainage paths converge. The nearest visible defect is therefore not always the source, and sealing it without tracing the route can leave the real fault untouched.
Multi-level roof ingress needs a methodical, top-down inspection. Complex roof drainage should be assessed as one connected system, noting where water lands, where it concentrates, how each level discharges and where capacity or detailing may fail.
Before permanent work is scoped, the entry point needs to be separated from the route water followed inside the building. That distinction helps define a targeted repair rather than a series of guesses.
Why Multi-Level Roofs Are Harder To Diagnose
A single storey roof often has a clearer slope and fewer junctions. A multi-level roof can combine upper roofs, lower roofs, balconies, walls, parapets, and drainage transitions.
Each transition changes how water behaves. Water from an upper roof may overload a lower section that was never designed for that flow. A lasting roof repair must address both the entry point and the water movement feeding it.
Upper Roof Runoff Can Overload Lower Areas
Upper roofs shed water onto lower roof sections during storms. If the receiving area has poor fall, blocked gutters, or narrow valleys, water can back up.
That backup can push moisture under tiles, into laps, or behind flashing. The lower ceiling stain may appear far from the original runoff source.
Complex roof drainage diagnosis should therefore follow water volume from top to bottom. The leak may be a capacity problem involving gutters and downpipes, not only a broken part.
Wall Junctions Hide Entry Points
Where a roof meets a wall, flashing carries a heavy responsibility. Apron flashing, step flashing, counter flashing, and sealant details can all fail.
A small opening at a wall junction can feed water behind cladding or masonry. It may then drop into a lower roof cavity or interior wall.
These leaks often appear as stains near cornices or internal corners. The visible mark may sit below the wall path, not below the actual opening. Where damaged or displaced tiles contribute to the route, targeted tile repairs may form part of the scope.
Parapets And Box Gutters Add Risk
Parapets and box gutters can conceal water until capacity is exceeded. Leaves, sediment, poor fall, or undersized outlets can make water rise during storms.
Once water reaches a lap, screw hole, or failed seal, it can enter the building envelope. The leak may not appear until the next heavy storm. The NCC guidance covers gutter, downpipe and overflow provisions and notes that AS/NZS 3500.3 may be used for box gutter sizing, falls and overflow requirements.
Inspection needs to check drainage outlets, overflow paths, membrane condition, and signs of standing water. A dry day inspection can still reveal tide marks.
Reading The Building Before The Roof
Before individual defects are ranked, the building shape needs to be understood as a drainage map: where water lands, where it concentrates and where it leaves.
Map The Roof Planes
Every roof plane has a direction of fall. On complex roofs, several planes may feed one valley, gutter, or lower roof area.
A simple sketch can identify high points, low points, junctions, and the route into gutters and downpipes. This helps separate likely causes from coincidental defects.
Match Stains To Drainage Lines
Interior stains should be compared with roof drainage lines above and upslope. Cornices, wall lines and light fittings can indicate the final drip point, while repeated staining after the same wind direction can narrow the exposed elevation. Record the room position against the roof plan before moving outside.
Check The History Of Additions
Many complex roofs include extensions, later verandas, converted spaces, or altered gutters. Additions can leave awkward junctions between old and new sections.
Different materials may move at different rates. A metal section, tile section, and rendered wall can each respond differently to heat and rain.
Records of past building work can help. A leak near an extension often relates to the junction rather than the newest visible stain.
Tools That Support Water Ingress Tracing
In roof investigations generally, diagnostic tools can test individual possibilities once the likely route is mapped and before roof repairs are scoped. Moisture readings can distinguish active dampness from old staining, cavity access can reveal direction, and controlled water testing can isolate a section when visible evidence is inconclusive.
Moisture Readings Identify Active Paths
Readings should be taken at the stain, nearby dry areas, wall junctions, and likely cavity paths. A pattern is more useful than one reading.
If moisture increases after rain, the route remains active. If it stays stable, the stain may be historic or linked to a different event.
Cavity Inspection Confirms Direction
A cavity inspection can reveal water tracks, wet insulation, stained timber, rusted fixings, or mould odour. These clues often show direction.
In multi-level roofs, cavity access may be limited. Even small access points can still reveal whether water entered from an upper wall, valley, or flashing.
The inspection should respect safety limits. Some spaces need specialised access because roofs, ceilings, and services can create hazards.
Controlled Water Testing Needs Care
As a general diagnostic technique, a controlled water test can help reproduce a leak, but excessive flow may create conditions that normal rainfall did not. Testing should begin at the lowest suspected section and progress upwards only after each area has been observed and cleared. One person should monitor inside while another applies water outside, with timing recorded so any response can be tied to the section under test.
A confirmed route gives homeowners a clearer basis for comparing roof repair costs, because the scope can distinguish a local defect from wider drainage work.
Common Multi-Level Leak Sources
With the evidence-gathering limits clear, attention can turn to the transitions most likely to fail. Flat sections, tiled sections, walls, gutters, valleys and penetrations have to manage both their own catchment and any flow arriving from above.
For Perth homeowners choosing between a local patch and broader work, Permacoat offers a free, no-obligation roof inspection. The company has more than 50 years of local experience and has repaired and restored more than 30,000 roofs. For roof repair work, Permacoat also provides a 12-month leak guarantee, giving homeowners a clear service commitment to weigh alongside the proposed scope.
Apron Flashing Below Upper Walls
Apron flashing protects the line where a roof sits against a vertical wall. On multi-level homes, this detail often handles runoff and wind pressure.
Cracked sealant, lifted flashing, poor overlaps, or loose render edges can admit water. The leak may travel behind the wall before it reaches a lower ceiling.
Apron flashing faults often show as stains along cornices or internal wall tops. Inspect the render edge and flashing termination above those marks before disturbing a roof surface that may be sound.
Valley Junctions With Heavy Flow
Valleys collect water from adjoining roof planes. On complex roofs, a valley may also receive flow from an upper downpipe or spreader.
That extra volume can exceed the valley capacity during summer storms. Water then rides high under tile edges or spills into battens.
Valley checks should include rust, debris, width, tile cuts, bedding, and fall. If moss or built-up debris is hiding valley edges or drainage defects, roof cleaning may be needed before the condition can be assessed. A clean valley can still leak if its design is overloaded.
Lower Roofs Receiving Downpipe Discharge
Downpipes from upper roofs sometimes discharge onto lower roofs. If the spreader is missing, blocked, or poorly positioned, water can concentrate in one area.
Concentrated discharge can push beneath tiles, wear coatings or flood a small gutter, so the repair may need to redirect the flow rather than patch one overloaded point.
Skylights And Penetrations On Mixed Planes
Skylights, vents, flues, and antennas create penetrations through the roof. Their flashings must work with the roof pitch and surrounding drainage.
On multi-level homes, wind can swirl around walls and raised roof sections. That pressure can drive water under weak penetration flashings.
Inspection should include upstream drainage. A skylight may leak because water from another roof section is being directed onto it.
How A Step By Step Inspection Reduces Guesswork
Random patching can hide evidence, add cost and leave the main route untouched. If a protective roof coating is part of later maintenance, its scope should remain separate from the leak repair so an unresolved route is not concealed.
Start At The Lowest Visible Symptom
Document the lowest symptom before roof access: its room location, dimensions, moisture condition, nearby fittings and whether it changed after a particular storm. This establishes the final drip point without assuming it is the source. From there, check the structure above in sequence so evidence from one level guides the next.
Move Upslope And Up-Level
Move upslope and up-level from the symptom, checking the upper drainage that feeds the affected area. Gutters, downpipes, spreaders, valleys and flashings should be assessed in their discharge order. A defect is more significant when it aligns with both the mapped flow and internal evidence than when it is merely nearby.
Confirm The Fault Before Permanent Repair
A suspected defect should be confirmed before permanent work starts. Confirmation may come from moisture patterns, visible damage, water testing or matching cavity evidence, helping to avoid repairs that chase symptoms or replace sound materials while the hidden entry point remains open.
For complex roofs, a clear repair scope is especially important. Several minor faults may combine to create one visible leak.
Repair Planning For Complex Roof Drainage
Repair planning involves two separate decisions: closing the entry point and correcting any drainage condition that keeps directing water towards it.
Some repairs are local, such as replacing a cracked tile or sealing a flashing joint. Others require drainage changes, valley work or gutter upgrades. Where deterioration is widespread, re-roofing may be more appropriate than repeated local patches.
Separate Emergency Control From Permanent Work
Emergency work may be needed to stop active water entry. Temporary sealing or make safe work can protect the home during bad weather.
Permanent repair should follow once conditions allow proper inspection. Rushed permanent repairs can lock in the wrong assumption.
The repair record should note what was temporary and what was final. That clarity helps future maintenance decisions.
Improve Water Movement Where Needed
Where upper runoff overloads a lower section, the repair needs to change the discharge path or increase capacity at the receiving point. The chosen work must be checked against the next outlet downstream so resolving one bottleneck does not create another.
Monitor After The Next Rain
Multi-level leak repairs should be checked after suitable rain. Some leaks only show under specific wind direction and rainfall intensity.
Photos and moisture readings can confirm whether the route has stopped. If a stain remains dry after several events, internal repairs can proceed with more confidence.
Ceiling repainting should be delayed until the area is dry. That prevents hidden moisture from being trapped behind new paint. External roof coatings should likewise follow completed repairs and proper surface preparation.
If the roof is sound and the ingress route has been resolved, roof painting can be planned as separate protective work. It should never be used to conceal an active leak.
Warning Signs That Need Prompt Attention
A complex roof leak can cause more than a ceiling mark. Water can affect insulation, electrical fittings, timber, wall linings, and internal finishes.
Signs Inside The Home
Spreading stains after each storm, bubbling paint near cornices, damp odours, mould near roof lines and marks below an upper wall all indicate ongoing moisture. Sagging plasterboard, soft ceiling areas or water around light fittings require immediate caution because the affected area may be unsafe.
Signs On The Roof Exterior
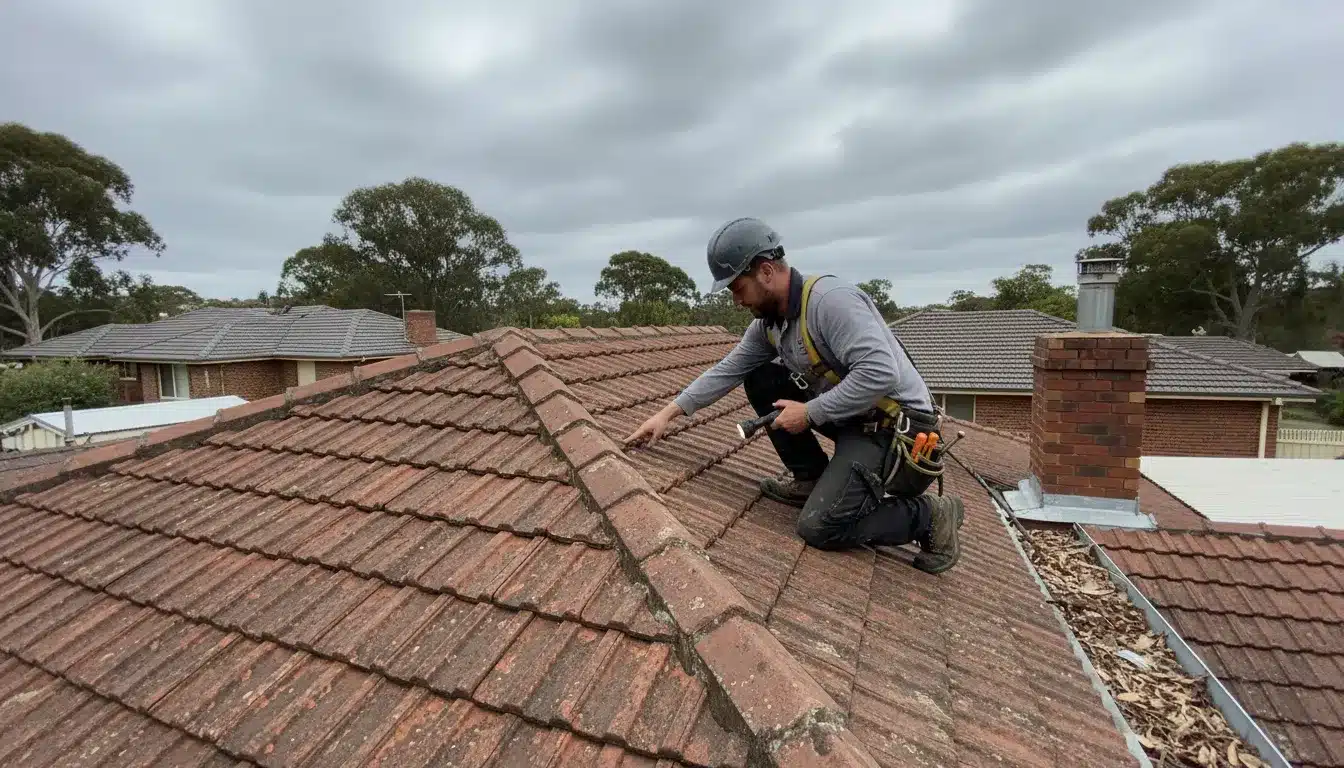
Loose ridge capping, blocked valleys, overflowing gutters, rusted flashing, and staining below outlets can all support the diagnosis. Ground level photos can help.
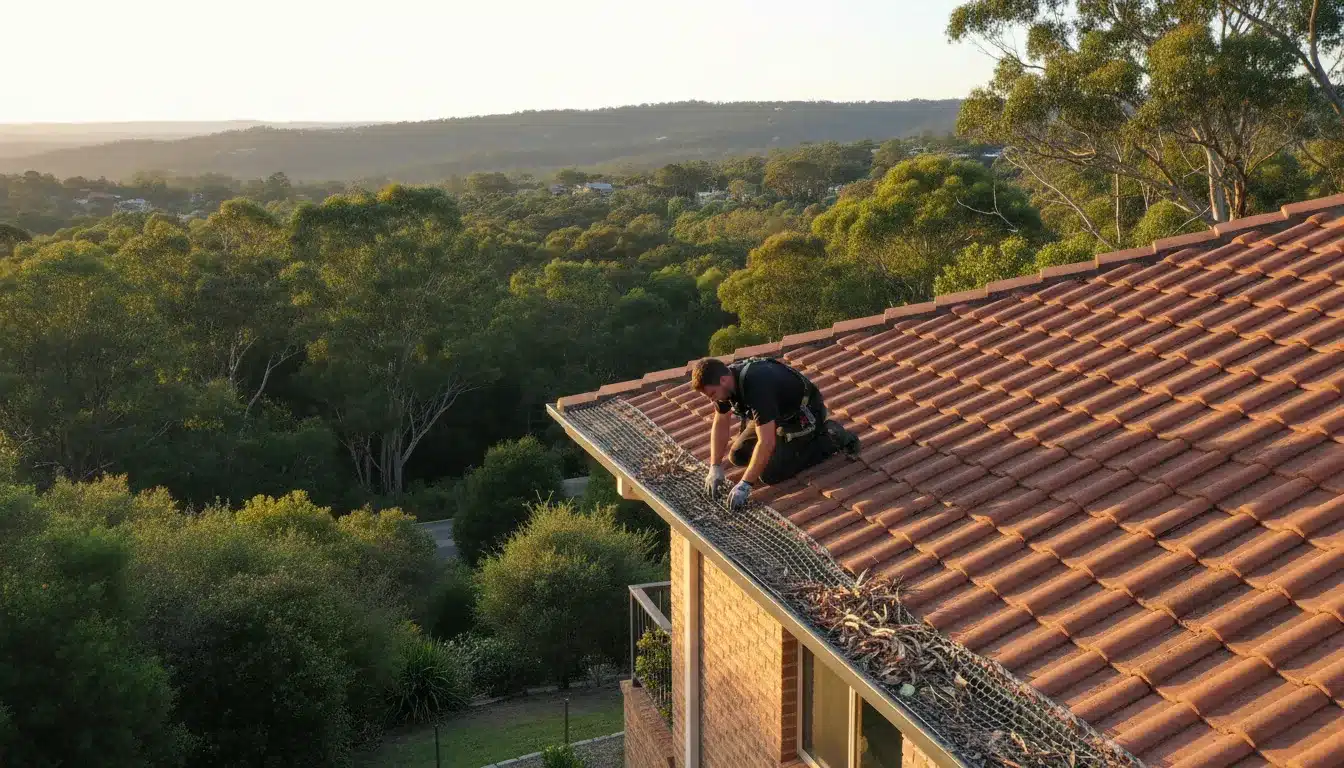
Visible debris around upper gutters is especially relevant. In multi-level roofs, one blockage can send water into several lower paths.
The exterior sign may not be directly above the room. It should be judged against roof fall and drainage lines.
Conclusion
When water appears below an upper roof, the next decision should follow the drainage route rather than the nearest stain. Record when the leak appears, keep the affected area safe and avoid covering the evidence before the roof has been assessed.
If the path crosses several levels or only appears in wind-driven rain, contact us to arrange a roof inspection and define the appropriate repair scope before the next heavy storm.