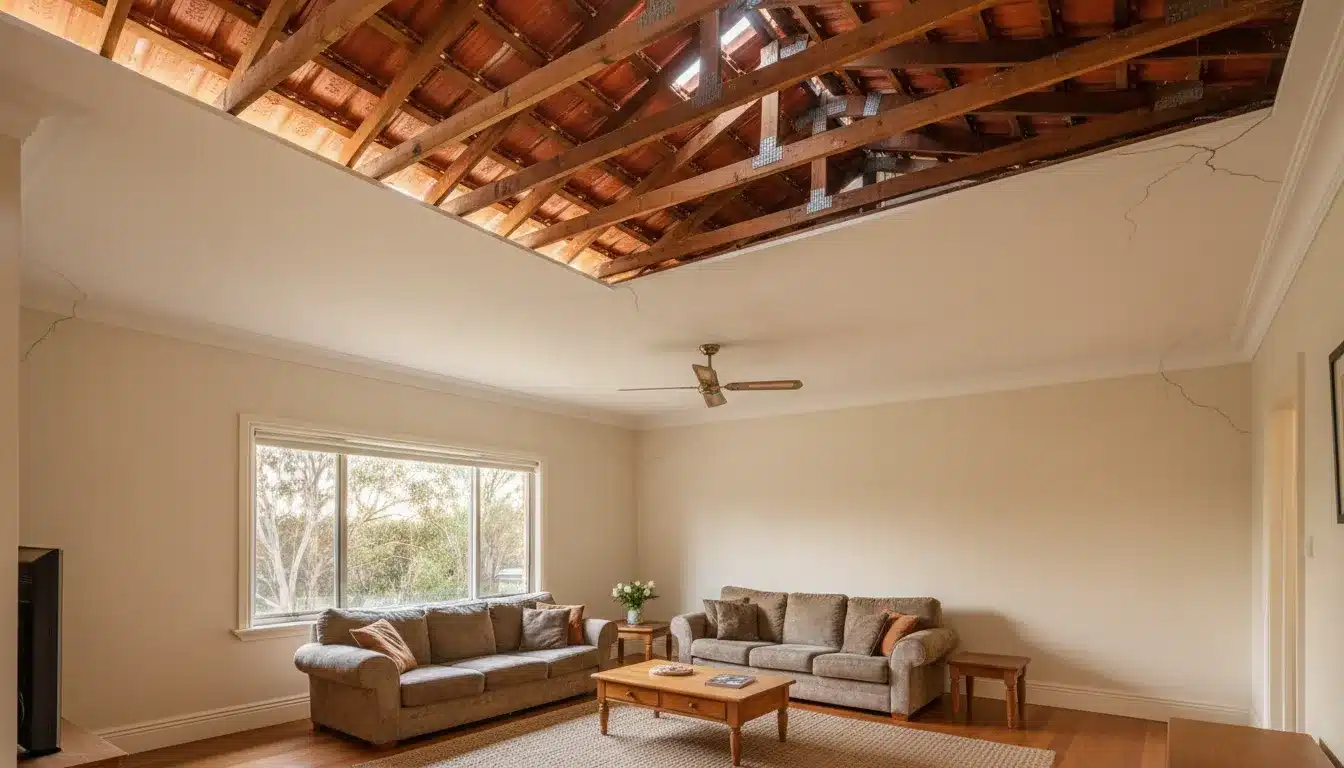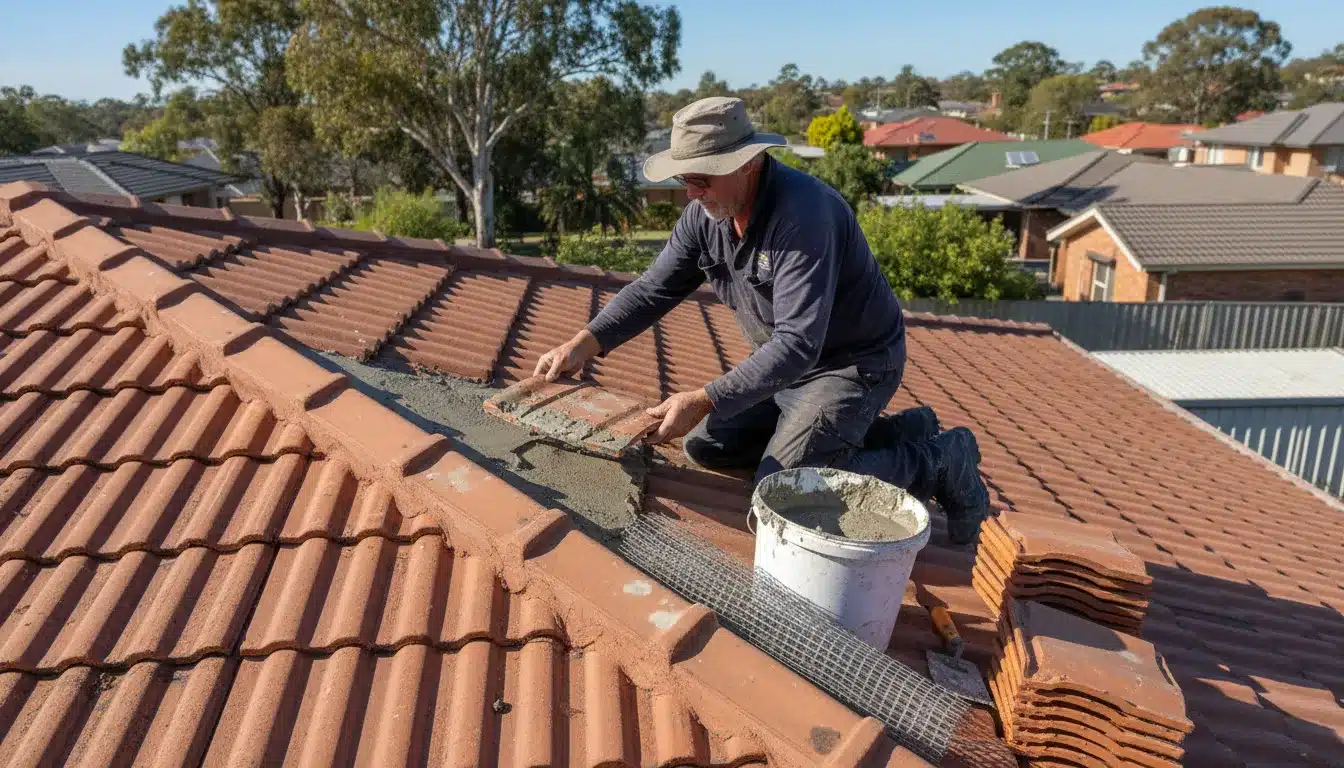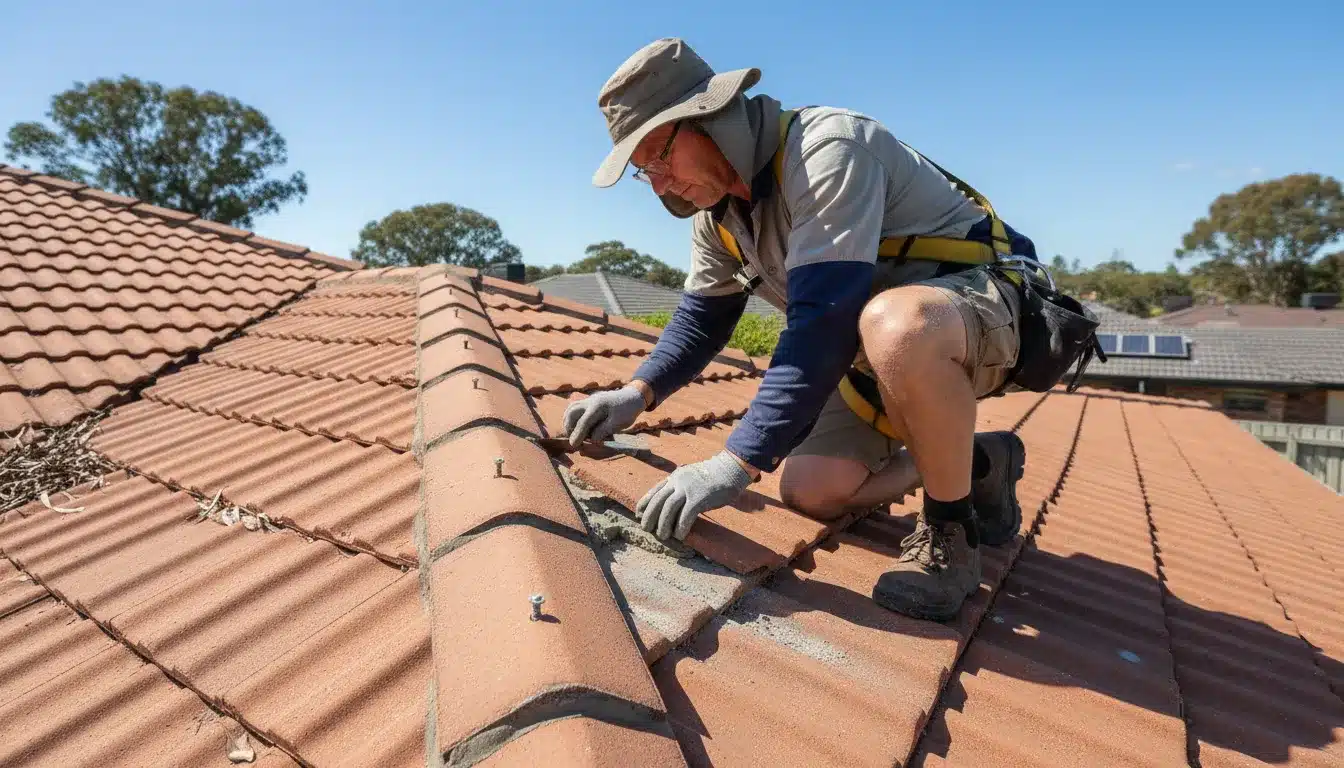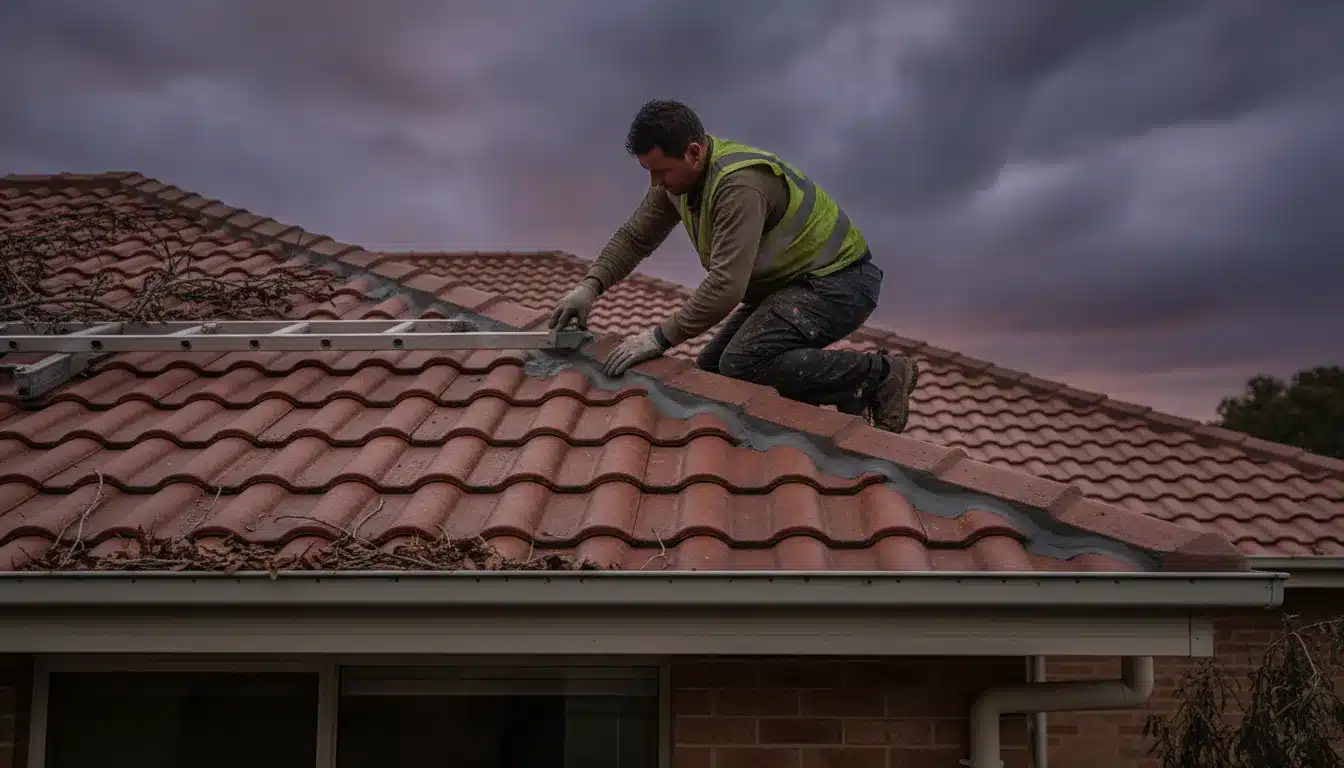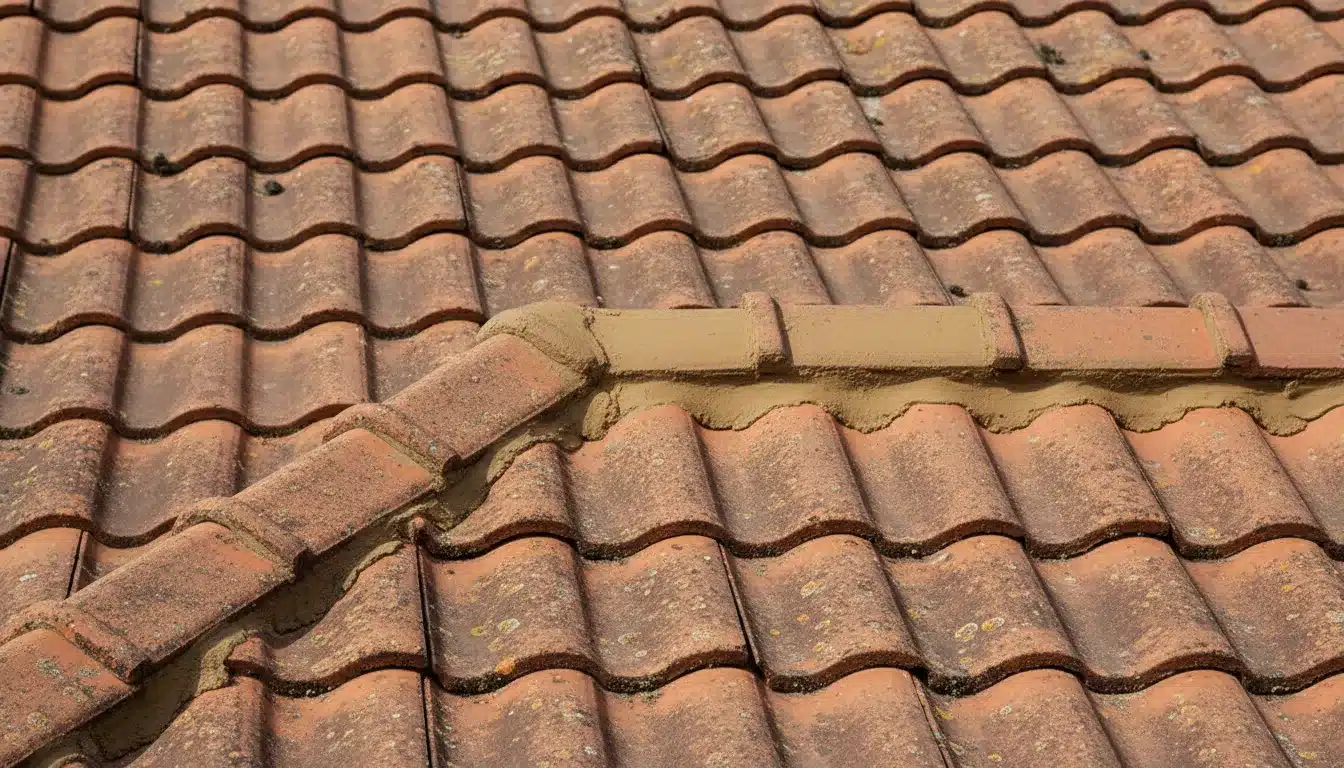
A tiled roof can be structurally sound yet still look uneven after repair work. The most visible issues often sit around ridge caps, bedding lines, and repaired tile sections.
Colour, texture, age, and surface weathering all affect the final result. Careful planning helps new mortar blend with older roof areas.
Why Discreet Tiled Repairs Need Colour Planning
A repair should fix the roof without drawing attention from the street. Mortar colour matching helps repaired sections sit quietly beside older mortar.
Fresh mortar starts with a different tone and texture. Sun, rain, dust, salt, and age slowly alter the finished colour.
The Eye Reads Roof Lines Quickly
Roof lines are usually viewed from below. That angle makes ridge caps, gables, hips, and valleys stand out.
Even small colour changes can look larger from the street. A neat tiled roof repair finish depends on consistency across those lines.
Common visual cues include these items.
- sharp contrast between new and aged mortar
- uneven ridge cap lines near hips
- patchy colour across repaired bedding
- mismatched texture beside old pointing
- fresh marks around nearby tiles
Older Mortar Rarely Has One Exact Colour
Aged mortar can vary across the same roof. North-facing sections may fade faster than shaded areas.
Trees can stain one side more than another. Coastal air can also affect surface tone over time.
Roof tile appearance changes for similar reasons. Lichen, dust, and older coatings can make one tile group look different.
What Affects Mortar Colour on a Tiled Roof
Mortar colour is not only a pigment choice. It reflects material, moisture, curing, and surrounding roof condition.
Cement, sand, oxide, water ratio, and drying time all matter. These factors influence the colour seen after the work cures.
Sand Colour and Cement Mix Matter
Sand is a major part of the final shade. Local sand can range from pale cream to deeper yellow or grey.
Cement also changes the final colour. Grey cement, off-white cement, and oxide mixes create different results.
A repair plan should consider these details.
- the colour of the existing bedding
- the sand tone in older mortar
- the age of nearby pointing
- how thoroughly the tiles will be cleaned
- whether a suitable coating or sealer is planned
Weathering Changes the Result
New mortar can look strong during installation. It may lighten or dull after drying.
Rain can affect early surface finish. Hot weather can speed drying and change texture.
For cement tile repair, the roof surface nearby can matter as much as the mortar. A clean repaired line beside stained tiles can still look obvious.
Matching Mortar With Surrounding Roof Surfaces
Good repair work considers the whole roof surface. The goal is not just a hard joint or strong ridge line.
A balanced roof restoration finish needs mortar, tiles, pointing, and coatings to work together. Each part affects the final visual result.
Clean First or Match First
Cleaning can reveal the real tile colour. It can also show which mortar areas have deep stains.
Matching mortar before cleaning may lead to poor results. The old colour may not be the final colour after washing.
Useful preparation steps include these actions.
- checking tile colour after surface cleaning
- comparing dry and wet mortar tones
- inspecting shaded and sunny roof sections
- noting old repair patches
- planning any coating before final colour choice
Tile Age Changes the Target
Older concrete tiles can fade unevenly. Terracotta tiles can hold colour differently across each surface.
A roof may also include replacement tiles from past repairs. Those tiles can affect roof tile appearance across the repaired area.
A discreet result may need more than one shade choice. Some jobs need a practical blend, not a single perfect match.
The best target often sits between the oldest and newest areas. A small sample can help confirm that balance.
Shade selection should also consider future cleaning. A colour that looks right today may look too dark after stains are removed.
This is why repair timing matters. Tile washing, ridge work, and coating decisions should be planned together.
Ridge Caps Need Special Attention
Ridge caps sit high on the roof. They create strong horizontal and angled lines.
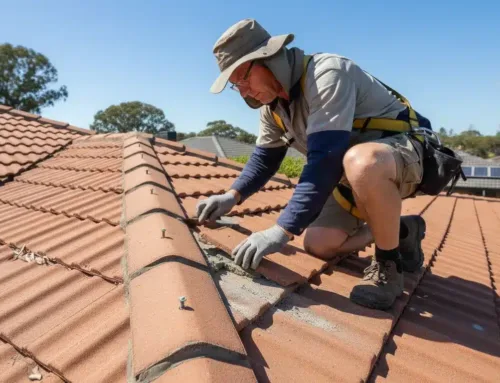
Poor colour choices can make ridge work very noticeable. Repointed ridge caps should look secure and settled, not freshly patched.
Bedding and Pointing Have Different Roles
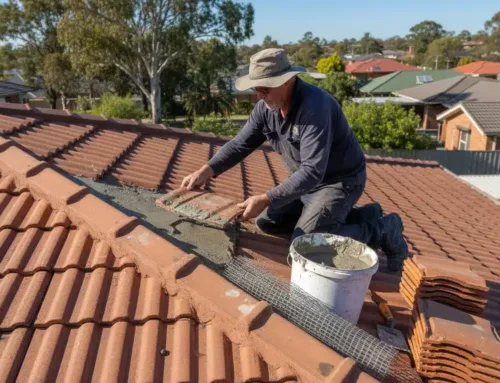
Bedding supports the ridge caps. Pointing seals the exposed edge and creates the visible finish.
Both layers can influence appearance. The pointing layer often receives the most attention because it is exposed.
Important checks include these points.
- cracked or loose old bedding
- gaps under ridge caps
- uneven pointing lines
- old flexible pointing colour
- signs of movement near hips
Repointing Should Follow Roof Geometry
Clean lines help the repair look natural. Uneven ridge edges can make even good colour matching look poor.
Repointed ridge caps also need correct profile shaping. A sharp finish can look wrong on an older roof.
The final profile should suit the roof style. Matching shape and colour can reduce visual distraction.
Older roofs often have softer edges and settled lines. A very crisp new joint can look out of place.
The finish should look tidy from close range and natural from the street. Both checks support a more discreet result.
Discreet Repair Is Not Only Cosmetic
A neat repair should still perform well. A hidden finish has little value if water can enter later.
The repair sequence should handle movement, drainage, tile condition, and mortar strength. Visual blending should support the technical repair.
Structure Comes Before Shade
Our roof tile repairs address loose or cracked tiles before the pointing is finished. Correct seating and replacement take priority over colour.
Any movement around hips or ridges should be assessed. Otherwise, new mortar may crack soon after curing.
A sound technical sequence includes these stages.
- replacing broken tiles first
- removing failed old mortar
- resetting unstable ridge caps
- applying suitable bedding where required
- finishing with compatible pointing
A Durable Finish Reduces Future Patches
Many visible patch marks come from repeated small fixes. Each repair may use a slightly different product or colour.
A planned tiled roof repair finish can reduce this patchwork effect. Larger sections may need consistent materials and preparation.
We are Permacoat, a Western Australian family business with over 50 years in roof restoration. We have restored more than 30,000 roofs across Perth, north and south of the river. Our restoration work brings repairs, surface preparation and coating together, rather than treating colour as a substitute for sound repair.
How Coatings Influence the Final Look
Roof coatings can change how mortar is perceived. A suitable coating may unify tile colour, ridge lines, and older repairs.
However, coating should not hide weak repair work. The underlying mortar and tile condition still need proper attention.
Coating Can Unify Repaired Areas
A full roof coating may reduce colour variation. It can also create a more consistent roof restoration finish.
This is especially useful when many old repairs are visible. The roof can regain a cleaner, more even appearance.
Before coating, the roof should be checked for these issues.
- broken cement or terracotta tiles
- failed pointing near ridge caps
- moss and lichen around laps
- loose bedding under caps
- drainage issues near valleys
Coating Cannot Fix Poor Preparation
Roof painting over unstable mortar can fail early. Movement can show through as cracking or flaking.
Surface preparation is also critical. Dust, chalking, moss, and loose material can affect adhesion.
For cement tile repair, cleaning and preparation support both function and appearance. That step helps the finished surface look intentional.
Preparation also reduces staining around new work. Mortar smears, dust, and residue can mark porous tile faces.
Clean handling protects the surrounding roof surface. It also avoids extra washing that may disturb fresh material.
Practical Inspection Points Before Repair
A good inspection looks beyond one damaged area. The surrounding roof often explains why a repair will stand out.
Lighting conditions should also be considered. Morning, midday, and afternoon light can reveal variations in colour.
View the Roof From Common Angles
Most people notice the roof from the driveway or street. Repairs should be checked from those normal viewing points.
A close-up match is useful. Still, the street view often decides whether the repair feels discreet.
Helpful inspection angles include these views.
- the front verge or footpath
- upper storey windows nearby
- side access paths
- the driveway approach
- rear outdoor living areas
Check the Whole Ridge Line
One repaired section can expose older defects nearby. A single neat area may make cracked sections look worse.
A broader ridge review helps set priorities. It also supports a consistent tiled roof repair finish across the roof.
Mortar colour matching should be planned with the full ridge line in mind. That approach helps repaired areas blend after curing.
Common Mistakes That Make Repairs Obvious
Many obvious roof repairs fail visually because they were treated as isolated patches. The mortar may be strong, yet the finish still attracts attention.
A roof is a large patterned surface. Small inconsistencies can interrupt that pattern.
Matching Wet Mortar Only
Wet mortar often looks darker than cured mortar. Choosing colour while wet can lead to a lighter final result.
Trial samples should be allowed to dry. They should be viewed beside the existing roof under daylight.
Avoid these visual mistakes.
- matching only a wet sample
- ignoring faded tile colour
- using one shade across mixed roof areas
- leaving smear marks on tile faces
- creating very sharp lines on aged surfaces
Ignoring Nearby Tile Replacement
Replacement tiles can change the visual balance. A new tile beside fresh mortar may create a bright patch.
Used tiles may sometimes blend better. The right choice depends on roof age, tile profile, and condition.
Roof tile appearance should be reviewed after all nearby repairs. That check helps avoid a clean joint beside an obvious tile mismatch.
When Restoration Planning Gives a Better Outcome
Some roofs need more than a local repair. Widespread ridge cracking, fading, and surface wear can make small patches noticeable.
Tile roof restoration may produce a more even outcome. It can combine cleaning, repair, suitable coating, and colour planning.
Restoration Can Reset the Roof Surface
Roof cleaning removes organic growth and loose residue. Repairs then sit against a more reliable surface colour.
A coating system can also bring older tiles closer together visually. This can support a consistent roof restoration finish.
A broader plan may suit roofs with these conditions.
- many cracked ridge lines
- several past repair colours
- widespread tile fading
- visible moss and lichen staining
- older cement tile wear
Local Repair Still Has a Place
Not every roof needs full restoration. Targeted roof repairs may be enough when defects are confined to a small area.
The key is judgement. The repair scope should match the roof condition and the homeowner’s aim. When comparing restoration costs, check which repairs, preparation and finishes each quote includes.
For a local job, repointed ridge caps should still blend with nearby lines. Good profile work and curing checks remain important.
The decision should also consider access and safety, which can affect repair costs. Some small defects sit in positions that require broader access planning.
Combining related repairs can reduce repeated foot traffic. It can also limit the chance of new tile damage during separate visits.
Clear scope protects the final appearance. Every repaired section should have a reason, a method, and a finish target.
Final Appearance Checks
The best time to review a finished repair is after the materials have cured. Fresh work can look different while moisture remains in the joint. A second look under daylight gives a fairer view.
For the final check, compare the cured repair with the agreed sample and finish target from ground level.
Small clean-up details also matter. Check for mortar smears, rough edges and uneven joint profiles, and have any residue removed without disturbing fresh material.
Plan a Discreet Tiled Roof Repair
A discreet tiled roof repair finish starts with the right repair scope, not colour alone. To discuss your roof’s condition and arrange a free, no-obligation inspection, contact us before deciding between local repairs and broader restoration.