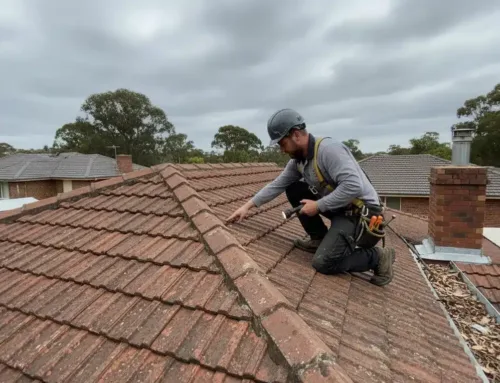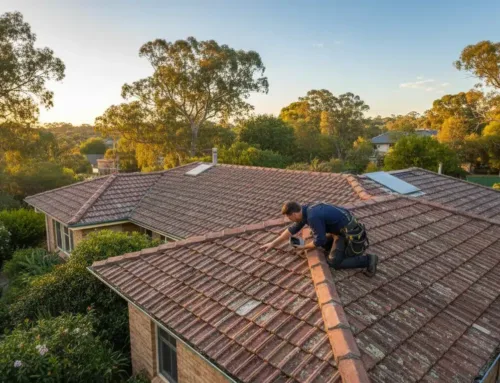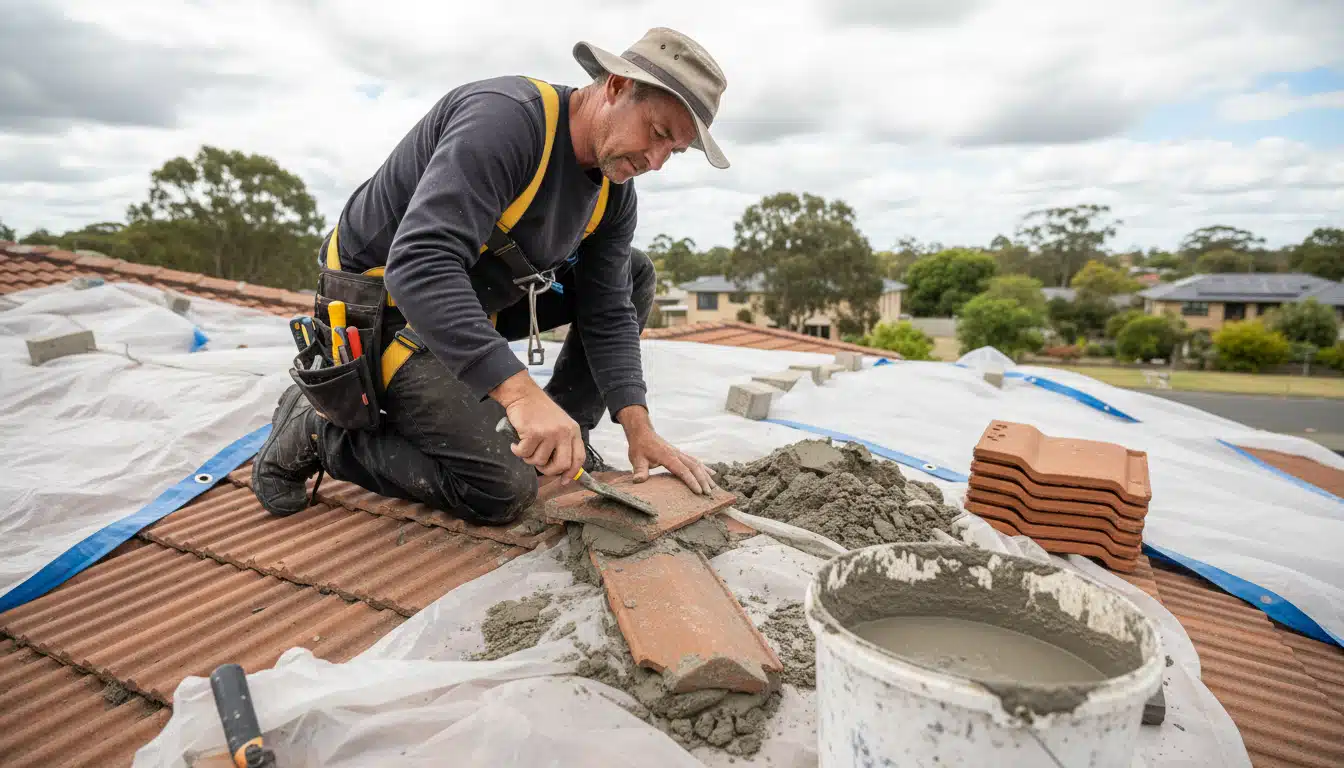
Roof re-bedding is the process of lifting ridge or hip caps, removing failed mortar and resetting the caps on a sound new bed. Before winter, it can close vulnerable high points on a tiled roof before repeated rain turns small gaps into active leaks.
Bedding provides support beneath the caps, while pointing seals the exposed edges. If the bedding has cracked, crumbled or lost its grip, adding fresh pointing over it will not correct the unstable base.
Pre-winter roof prep should therefore begin with an inspection rather than an assumption. A stain indoors may have travelled from a ridge, valley, flashing or broken tile some distance away.
The aim is to identify the actual water path, decide whether local re-bedding is enough and complete the work in suitable weather. That sequence protects the repair from rushed preparation and helps avoid treating the wrong part of the roof.
Why Re-Bedding Matters Before Winter
Re-bedding is not a cosmetic task. Ridge caps and hip caps rely on their mortar bed for alignment and support. When that base breaks down, the cap can move and its exposed joint can open.
Winter Rain Tests Weak Bedding
Winter fronts bring repeated wetting, wind and cooler drying conditions. Water has more time to enter existing cracks, while loose caps may shift enough to widen a gap. A roof that stayed dry through summer can reveal a problem during the first sustained rain.
Early assessment is especially useful when cracked or displaced tiles sit near the affected ridge. Our roof tile repairs address individual tile faults as part of determining whether the problem is limited to a cap or extends into the surrounding roof.
High Roof Lines Can Feed Hidden Leak Paths
Ridge and hip lines sit high on the roof. Water entering there can travel along battens, rafters, sarking or insulation before reaching a ceiling. The final stain may not sit directly below the failed bedding, so tracing the path matters more than simply repairing above the visible mark.
Repointing Cannot Fix A Failed Base
Pointing protects the exposed edge. Bedding supports the cap beneath it. New pointing placed over unstable bedding may crack or separate as the old base continues to move.
Re-bedding removes that weak material and resets the cap before the joint is finished. When the cause of a leak is uncertain, our broader roof repairs can account for tiles, ridge work, flashings and other nearby entry points rather than isolating one visible crack.
Signs Tiles Or Caps Need Re-Bedding
Not every surface crack requires complete re-bedding. The deciding issue is whether the mortar remains firm and the cap stays properly supported. Some warning signs are visible from the ground, but movement and hidden voids require close, safe inspection.
Loose Or Rocking Ridge Caps
A cap that moves during a professional inspection may no longer have adequate support. Repointing alone cannot stabilise a moving cap because the fault lies beneath the surface joint.
Open gaps below the cap can admit wind driven rain. Even a narrow opening can cause a significant leak when weather strikes from the right direction.
Crumbling Mortar And Debris
Sandy fragments, missing chunks of mortar or debris collecting below a ridge can indicate that the bed has lost strength. Once a cap loses its seat, water can reach more of the bedding and accelerate deterioration.
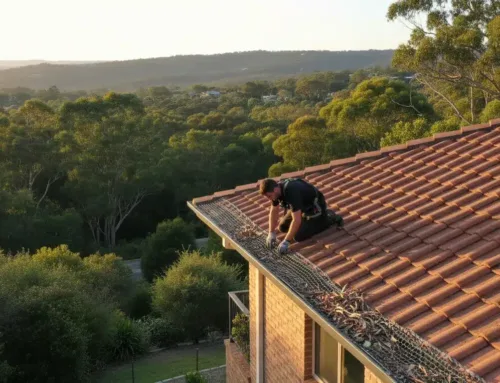
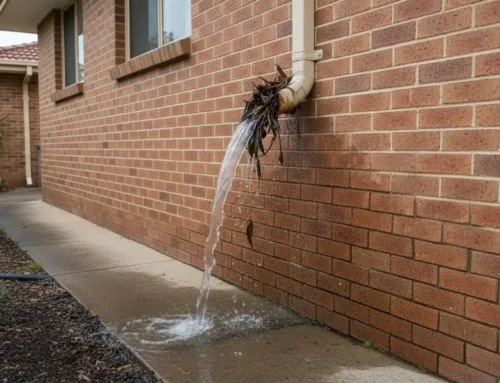
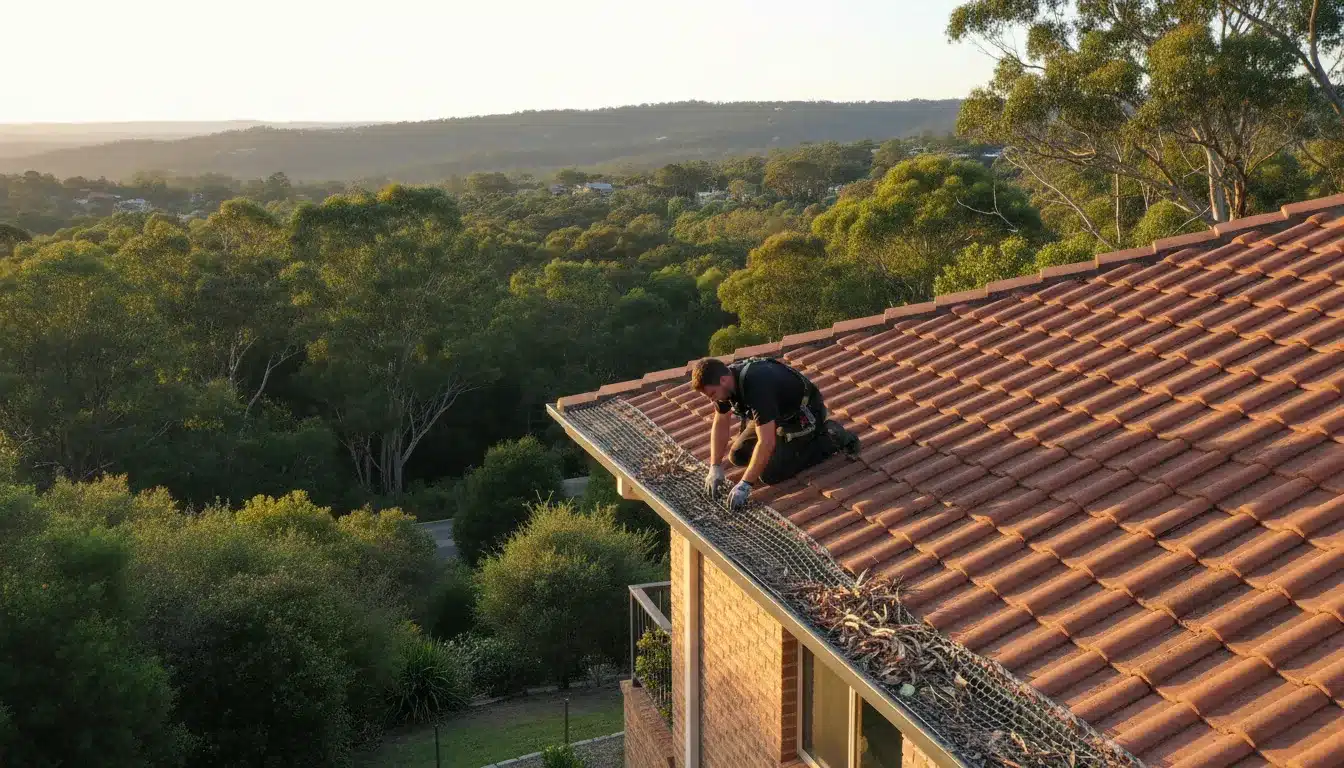
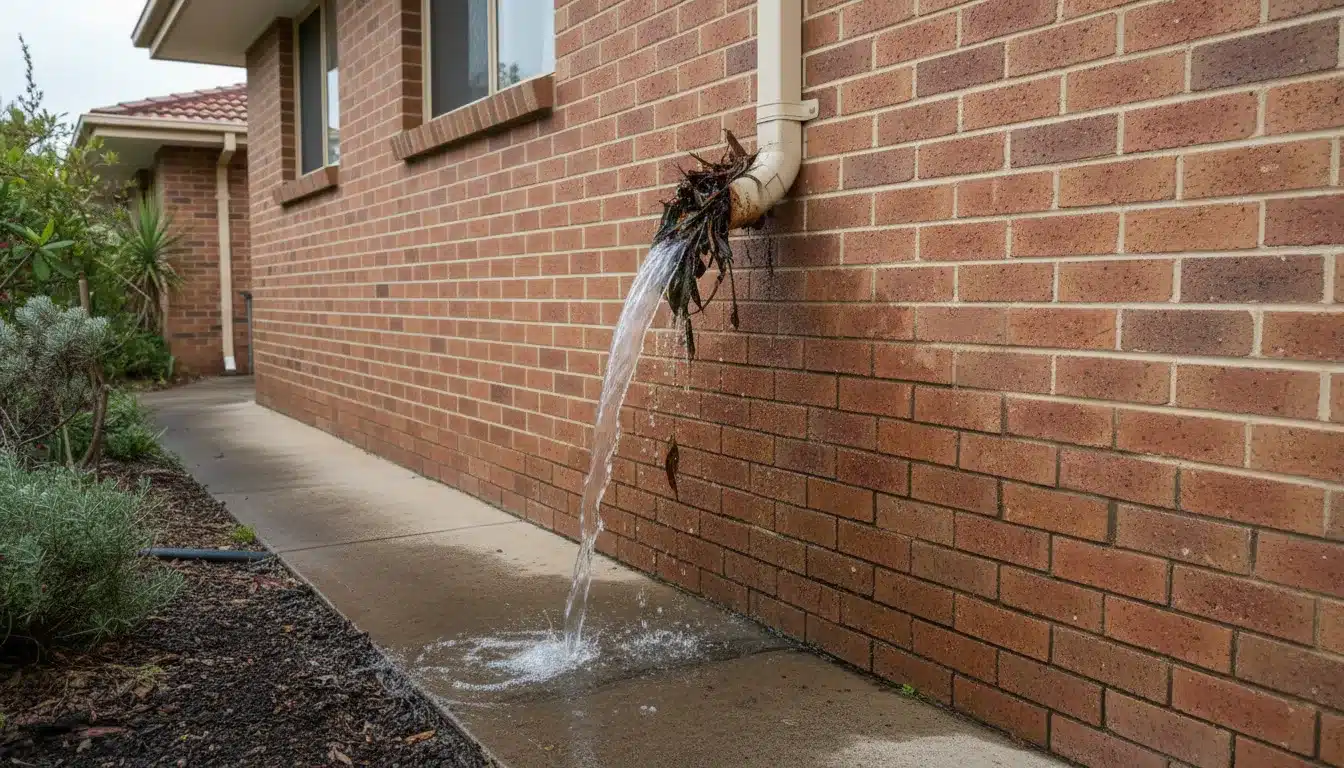
Mortar fragments can also wash towards valleys and gutters. Checking gutters and downpipes at the same time helps distinguish a ridge leak from overflow or drainage trouble affecting the eaves.
Repeated Leaks Near Cornices
Stains near cornices or internal wall lines can originate higher up the roof. Water often follows available surfaces before becoming visible, so the roof pitch above and upslope of the mark should be considered.
Photographs taken after rain, dates and notes about wind direction can help establish a pattern. Home maintenance guidance also recommends repairing roof ridging where necessary, replacing cracked tiles and keeping gutters clear.
Visible Gaps Below Caps
A visible gap can mean the seal has failed, the cap has shifted or bedding has fallen away. Gap size does not reliably predict leak severity. Position, exposure and the direction of driving rain all affect how much water enters.
Step One: Inspect The Roof And Trace The Risk
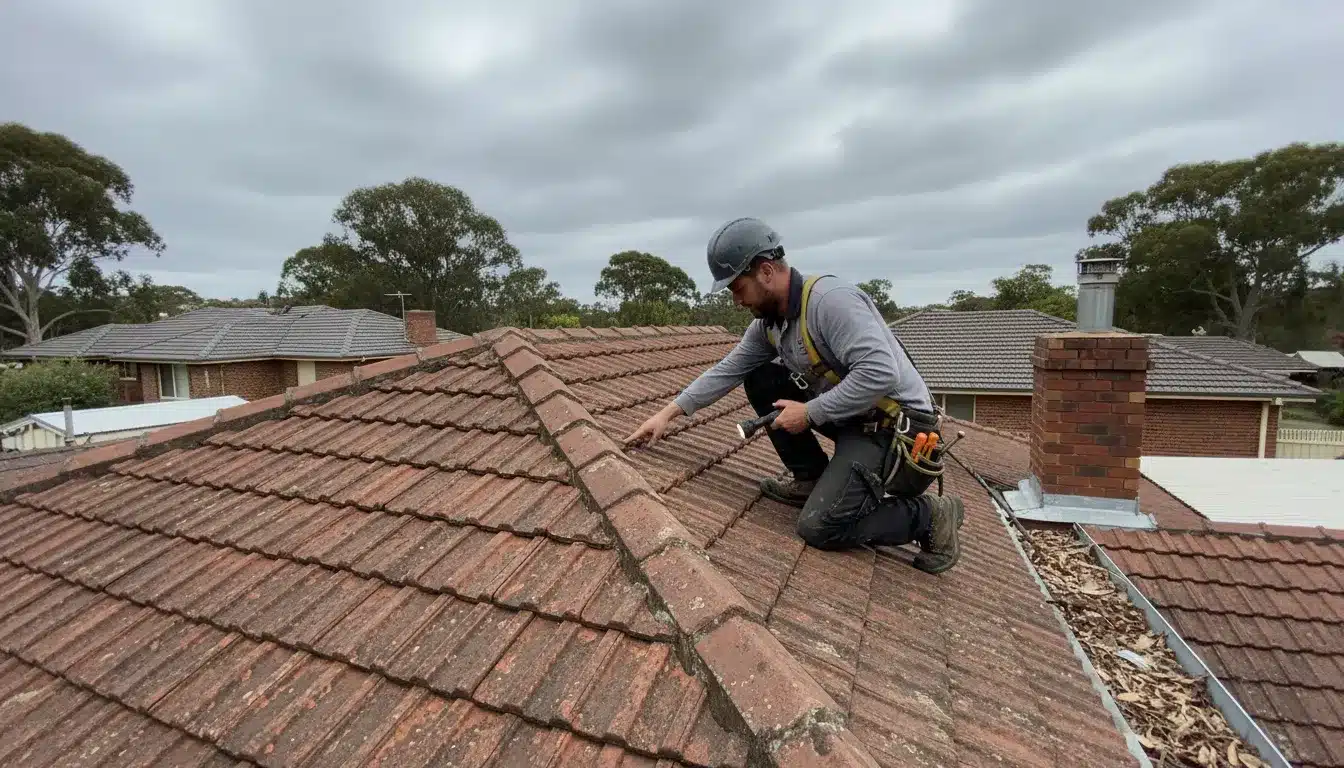
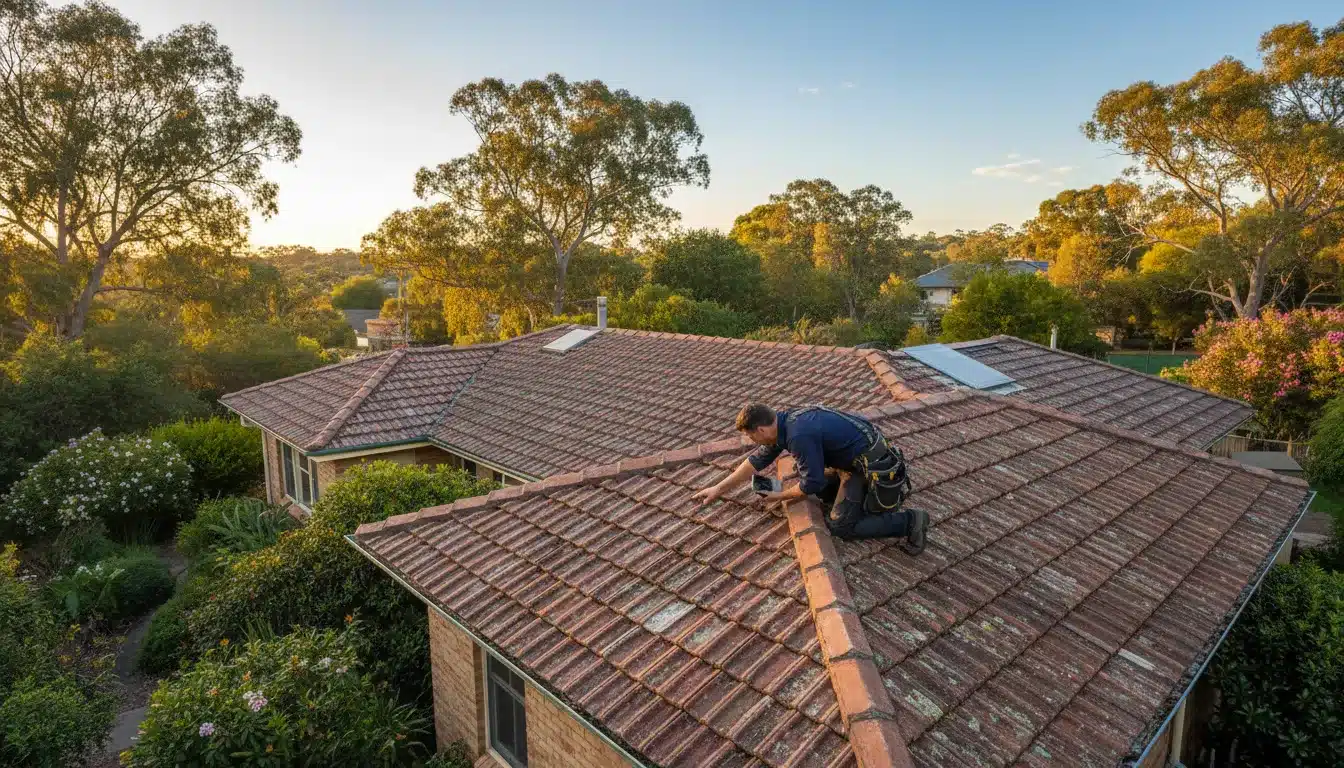
The process should start with an inspection, not immediate mortar work. A roof may contain several ageing sections, but only some may need re-bedding. The inspection should consider bedding, pointing, tiles, drainage and evidence inside the home.
Check Interior Symptoms
Ceiling stains, bubbling paint, musty odours and damp insulation can guide the external inspection. Their position is useful, but it is not a precise map of the entry point. Water generally moves down the roof pitch while also following battens, membranes and other hidden surfaces.
Where tile condition, ridge work and the overall finish need attention together, our tile roof services allow the repair scope to be considered in the context of the whole tiled roof rather than as an isolated patch.
Inspect Ridge And Hip Lines
Ridge and hip lines should be checked for open joints, loose caps, failed pointing and deteriorated bedding. Sections may age at different rates, so sound caps should not automatically be lifted merely because a nearby section has failed.
We assess how repair, preparation and finishing requirements fit together before recommending the scope. This matters when a local bedding fault sits within a roof that has other maintenance needs.
Include Drainage And Adjacent Tiles
That is why Permacoat assesses the ridge, drainage and adjacent tiles together rather than in isolation. A blocked valley, cracked tile, displaced flashing or overflowing gutter can produce similar symptoms. A reset cap will not stop water entering through a separate defect beside it.
Moss, lichen and built up debris can also hide tile edges or restrict drainage channels. Where these conditions affect inspection and preparation, roof cleaning may form part of a broader maintenance plan, but cleaning alone does not restore failed bedding.
Step Two: Remove Failed Bedding
Once re-bedding is confirmed, the affected caps are lifted carefully and unstable material is removed. Older concrete or terracotta tiles may be brittle, so handling matters during access and removal.
Lift The Caps Carefully
Lifting the cap exposes the condition beneath the visible joint. Hidden voids, loose fragments and poor contact become easier to identify. A cracked or badly worn cap may need replacement rather than being reset.
Clear Loose Mortar And Debris
Loose bedding, dust, moss and unstable fragments should be cleared so the new mortar sits on a sound area. Leaving weak material underneath compromises support even if the finished joint looks neat.
Nearby valleys and gutters should remain clear while work proceeds. Debris left in a drainage path can create a separate overflow problem during the next downpour.
Identify Broken Or Mismatched Tiles
Removing caps can reveal chipped, cracked or poorly seated tiles. A tile that does not sit correctly may leave a void beneath the cap and create another water path. Connected faults are best identified before new bedding is formed.
Step Three: Form New Bedding
New bedding gives each cap a stable seat. The objective is consistent support, correct alignment and a roof line that sheds water as intended. The hidden bed is the foundation for the pointing applied above it.
Set The Correct Height And Line
Ridge and hip caps should follow an even line. Poor alignment can expose edges, hold water or place uneven stress on the finished joint. Appearance matters here because an irregular line can also signal inconsistent support below.
If the wider roof surface needs protection after repairs, roof coatings should be considered as a separate finishing decision. A coating does not replace the structural support provided by sound bedding.
Avoid Voids Under The Cap
Voids reduce contact and allow movement. They can also form hidden spaces where moisture collects. The new bed should support the cap properly rather than relying on the visible pointing to bridge gaps.
Allow Suitable Curing Conditions
Mortar needs suitable conditions to cure. Heavy rain too soon, excessive drying or poor surface preparation can affect the result. Planning before winter creates a better chance of selecting a stable weather window instead of attempting urgent work between storms.
Step Four: Apply Pointing And Check The Seal
Pointing finishes the exposed joint and protects the bedding from weather. Flexible pointing is commonly used on tiled roofs because it can accommodate small movement caused by changing conditions, but it still relies on a sound base.
Apply Pointing Over Sound Bedding
The pointing should bond to prepared surfaces and follow the ridge line cleanly. It must not be used to conceal loose bedding or a cap that has not been reset securely.
Where colour and finish need to coordinate with a wider restoration, roof painting is a later surface decision. Repair integrity, curing and preparation come first.
Check For Continuous Coverage
The joint should have continuous coverage without missed edges, thin sections or open ends. Junctions, changes in roof direction and ridge ends deserve particular attention because water often finds the smallest unfinished edge.
Confirm The Surrounding Roof Condition
After bedding and pointing are complete, the nearby tiles, valleys and flashings should be checked again. This final pass reduces the risk of attributing a continuing leak to repaired bedding when a separate defect remains.
If deteriorated tiles or the roof structure make repeated local work impractical, re-roofing may warrant assessment as a distinct option. It should follow a condition based decision, not the presence of one cracked ridge joint.
Planning Re-Bedding Before The First Winter Front
Timing affects access, preparation and curing. Waiting for heavy rain can make diagnosis urgent and safe roof access more difficult. Earlier planning allows the repair scope and weather window to be considered together.
Book An Inspection During Dry Weather
Dry conditions make close inspection and mortar work more manageable. Evidence from previous rain remains useful, so keep photographs and note the rooms, dates and weather associated with each stain.
For shared roofs or managed buildings, coordinating access, affected dwellings and maintenance history can add another layer to the decision. Our strata roofing support helps place the immediate bedding issue within the property’s wider maintenance responsibilities.
Prioritise Active Leak Areas
Where several areas require attention, prioritise proven or likely water entry points and sections with loose caps. Cosmetic differences can wait if they do not affect support or weather resistance.
A targeted plan separates urgent re-bedding from future maintenance. It also gives homeowners clearer expectations about which symptoms should change after the work.
Keep Records After Repair
Photographs and notes provide a baseline for later inspections. After the next rain, check ceilings for new or spreading marks without assuming that an old stain will disappear.
Records are particularly useful where more than one fault was repaired. They help identify what changed and whether another water path still needs investigation.
Frequently Asked Questions
What Is Roof Re-Bedding?
Roof re-bedding removes failed mortar beneath ridge or hip caps and resets the caps on a new, stable mortar base. Pointing is then applied to protect the exposed joint.
Is Re-Bedding The Same As Repointing?
No. Re-bedding restores support beneath the cap. Repointing seals and finishes the edge over bedding that is already sound.
Why Complete It Before Winter Rain?
Repeated rain tests cracks, gaps and loose caps. Completing necessary work in a suitable dry period also allows better preparation and curing than an urgent repair between winter fronts.
Can Failed Bedding Cause Ceiling Stains?
Yes. Water entering near a ridge or hip can travel through the roof cavity before reaching a ceiling, which is why the visible mark may not identify the entry point.
Make The Repair Decision Before Winter
Re-bedding is appropriate when mortar has lost strength and no longer supports the ridge or hip caps. The sound sequence is to trace the likely leak path, lift affected caps, remove failed material, form a stable new bed, apply pointing and check adjacent roof components.
If you have loose caps, crumbling mortar or recurring stains after rain, we can inspect the roof and define a practical repair scope before winter weather limits the options. Get in touch with us while conditions still allow the bedding, tiles and drainage to be assessed together.