Wall junctions are among the hardest roof areas to keep dry during strong storms. Rain can arrive sideways, then push beneath laps, around fixings and across rough wall surfaces.
A sound flashing detail does more than cover a gap. It changes the path of water, reduces pressure at the junction and sends runoff back to open drainage areas.
Why Wall Junctions Leak During Sideways Rain
Wind Pressure Changes the Leak Path
A roof can shed ordinary rain well, yet still fail during a storm. Sideways rain can move against the normal fall of tiles or sheets.
This pressure matters most where a roof plane meets masonry, cladding or a parapet. Water can ride up small steps and enter hidden cavities.
A wall flashing roof leak often starts with a tiny opening. The first stain may appear metres away from the true entry point.
Common pressure points include:
- The top edge of apron flashing against brickwork
- Small cracks in mortar joints above the roof line
- Loose laps where stepped flashing changes level
- Sealant that has hardened and pulled away
- Debris that holds water against the wall
A wind driven rain roof problem can look random. The same roof may stay dry during vertical rain, then leak during one exposed storm front.
Roof Pitch and Exposure Affect Risk
Low pitched roofs are more exposed to slow drainage. Water stays near wall lines longer and has more time to find gaps.
Upper storey walls can also drive water onto lower roof sections. The extra runoff raises pressure around valleys, gutters and flashings.
Coastal and open suburbs can face strong storm gusts. Perth storm roofing checks should pay close attention to wall junctions after severe weather.
Roof shape also matters. A short return wall may create a sheltered corner where leaves gather and block flow.
A proper inspection follows the water path. It checks how rain reaches the wall, how it leaves, and where pressure builds.
Overflowing gutters can send water into the eaves, so roof-edge drainage belongs in the inspection. Blocked ground-level stormwater outlets and unsuitable paving levels are separate drainage concerns, not evidence of a wall flashing leak.
It should also include the history of the leak. A mark that appears only after north westerly storms can point toward one exposed wall face.
Wall Materials Change Flashing Performance
Brick, rendered masonry and lightweight cladding each behave differently. Brickwork can absorb moisture and release it slowly.
Rendered walls can hide cracks near the flashing chase. Cladding may flex under wind and disturb sealed joints.
Brick wall flashing needs clean chases, firm bedding and clear cover over the roof surface. Rough mortar can leave gaps behind metal edges.
Older walls often include mixed repairs. Different mortars, coatings and paints can make water tracking harder to predict.
Painted masonry needs extra care during inspection. Paint can bridge over cracks, then split open when the wall heats and cools.
Key Flashing Parts That Control Water
Apron Flashing Protects the Lower Edge
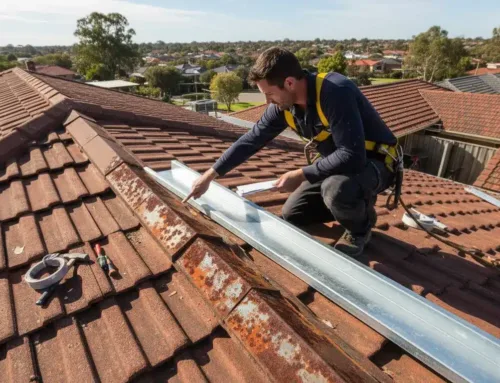
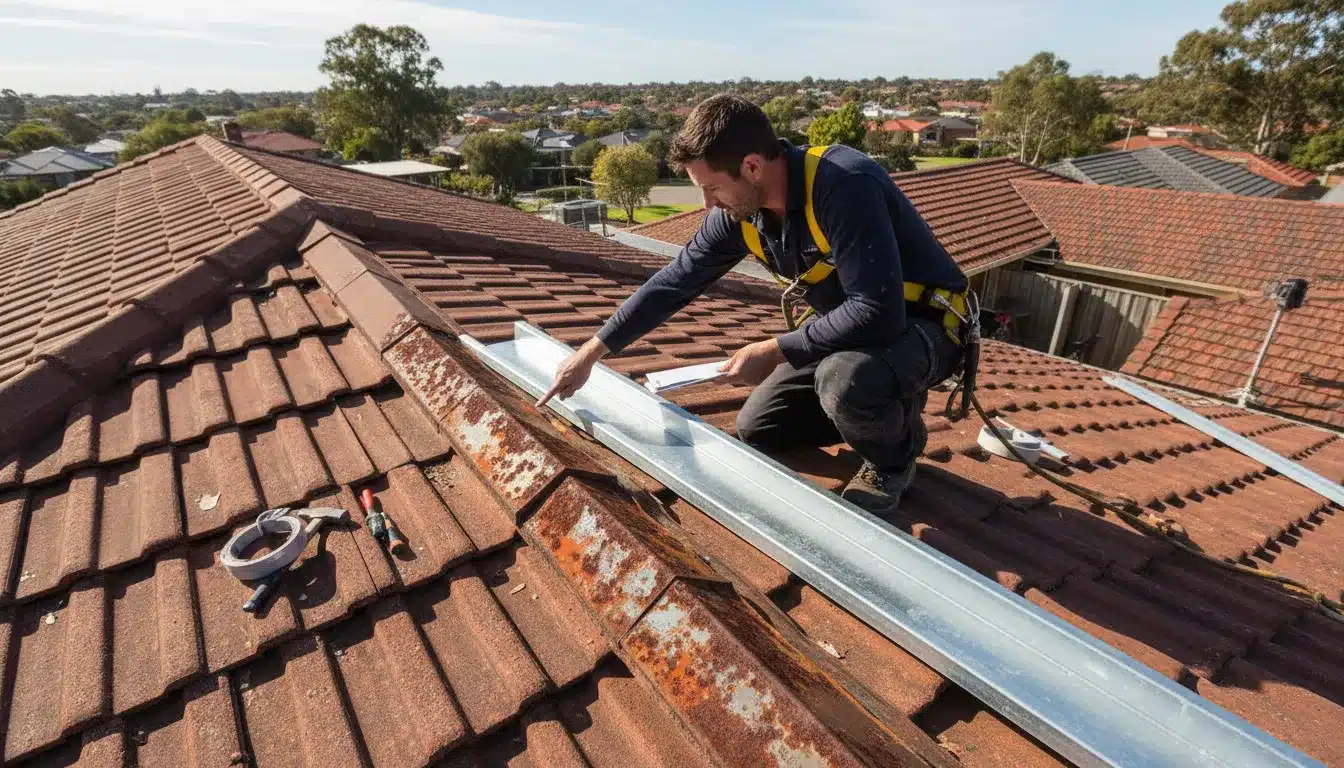
Apron flashing sits where a roof ends against a wall. It covers the joint and directs water back onto the roof surface.
The upstand height is important. If it is too low, sideways rain can climb behind the metal during gusts.
The roof cover also needs enough length. Short cover can let water roll back beneath the edge during heavy flow.
A good apron detail should:
- Sit firmly against the wall face
- Cover the roof surface by a suitable amount
- Avoid open corners at each end
- Match the roof profile beneath it
- Allow water to leave without ponding
A wall flashing roof leak can occur when apron flashing is treated as decoration. Its true role is controlled drainage.
Step Flashing Protects Sloping Wall Lines
Step flashing follows the line where a pitched roof meets a wall. Each piece overlaps the next piece like scales.
This staged layout is vital on tiled roofs. It lets water drain downward without crossing an exposed joint.
If one step is missing, bent or buried in mortar, water can enter behind the course. The leak may appear only during angled rain.
Step flashing should work with the roof cover. It should not depend on thick sealant as the main barrier.
Poor repairs sometimes smear sealant across every lap. That can trap water and hide corrosion until the next major storm.
Counter Flashing Seals the Wall Chase
Counter flashing covers the top of apron or step flashing. It is often cut into brickwork, then sealed into the chase.
This upper cover protects the vertical joint. Without it, rain can run behind the lower flashing and enter the roof cavity.
Brick wall flashing needs a stable counter flashing line. Loose mortar or shallow chasing can reduce the grip on the metal.
The seal should be neat and flexible. It should not be the only thing stopping water under wind pressure.
When walls move or settle, counter flashing can open at corners. Annual checks can catch these gaps early.
The depth of the chase also matters. A shallow groove gives less cover and can release the metal when mortar breaks down.
How Water Should Move Around Wall Lines
Diversion Starts Before Water Reaches the Wall
Good roof water diversion begins uphill from the flashing. Valleys, ridges, gutters and roof shape all affect the wall junction.
If a valley discharges toward a wall, the flashing carries extra load. That load may exceed the detail chosen during earlier work.
A spreader or diverter can move water away from a vulnerable corner. It must send water onto a safe roof area.
Effective diversion checks include:
- Whether upper gutters discharge onto lower roof sections
- Whether valleys direct flow into a wall return
- Whether downpipes release near a roof edge
- Whether leaf litter blocks channels near flashings
- Whether past repairs changed the original flow path
Roof water diversion should reduce pressure, not move the problem elsewhere. Every new path needs a clear exit point.
Drainage Must Stay Open After Storms
Even the best flashing can fail when water sits against it. Debris can create a dam along the wall line.
Leaves, sand, lichen and broken bedding can build up quietly. This material slows runoff and raises the water line.
A wind driven rain roof event becomes more serious when drainage is already blocked. Pressure pushes water into places it should not reach.
Roof cleaning should avoid bending soft metal edges. Aggressive scraping can damage coatings and shorten the life of flashings.
Our Permacoat roof inspections are free and carry no obligation. Where water testing is needed, it should follow the likely rain path, not blast upward beneath laps.
Water testing should be patient and controlled. Sudden high pressure can create a false leak by forcing water past sound overlaps.
End Dams and Kick-outs Protect Corners
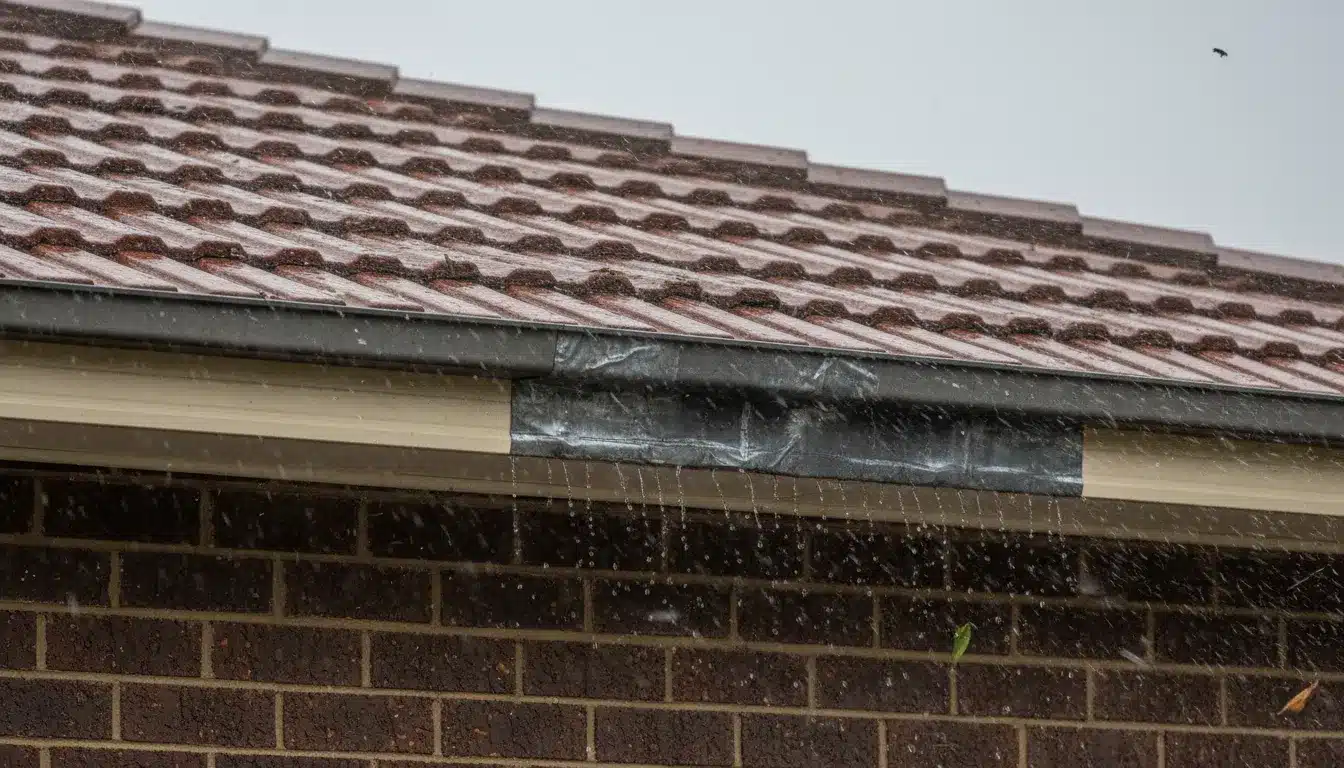
Flashing corners need special attention. Water often accelerates at the end of a wall line before entering a gutter.
An end dam stops water from spilling behind the flashing. A kick-out directs flow clear of cladding or brick returns.
These small details support roof leak prevention because corners are common failure points. Missing end dams can cause stains below eaves.
Corner failures can also wet timber framing. That damage may stay hidden until paint bubbles or plaster marks appear.
Every end point should be shaped to control water. Open gaps invite wind pressure and capillary movement.
Corners should also be checked from below where safe access exists. Staining on fascia boards can show repeated overflow at the same point.
Inspection Signs That Point to Flashing Failure
Interior Clues Need Careful Tracing
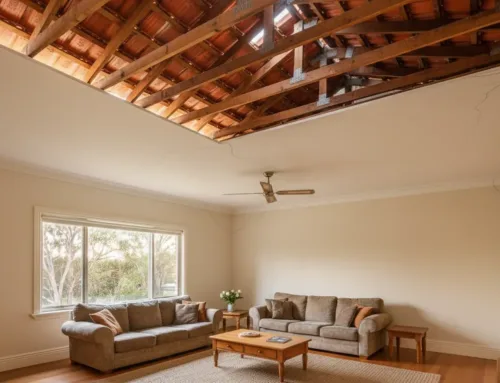
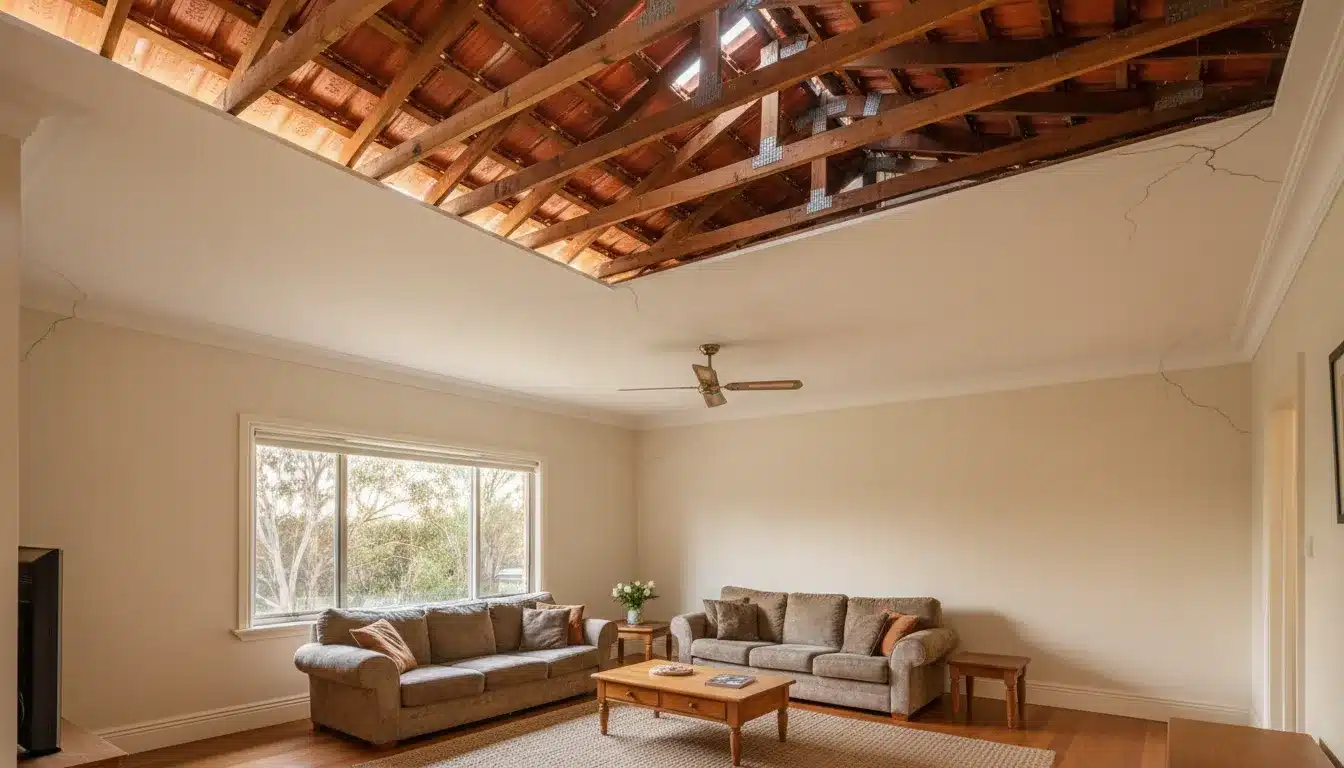
A ceiling stain does not always sit below the roof opening. Water can travel along rafters, insulation or battens before dripping.
Stains near a wall line deserve careful mapping. The pattern may show whether water enters above, beside or below the junction.
Interior warning signs include:
- Brown marks near cornices
- Damp smells after storms
- Bubbling paint on upper walls
- Mould at ceiling edges
- Drips that happen only with strong wind
A single dry day can hide the issue. Staining after sideways rain is often the better clue.
Roof cavities should be checked safely. Wet insulation, dark timber and rusty fixings can show the path from the flashing.
Ceiling checks should continue after the first dry day. Some insulation holds moisture long after the roof surface looks dry.
Exterior Signs Can Be Subtle
Outside checks should start above the leak area. The cause may be a cracked wall joint, not only a roofing fault.
Look for lifted metal, missing fasteners and sealant gaps. Also check whether roof tiles or sheets sit correctly beneath the flashing.
Perth storm roofing inspections should include photos after heavy weather. Fresh marks often show where water overtopped a detail.
White mineral marks on brickwork can show repeated wetting. Rust streaks may point to old fasteners or damaged galvanised metal.
A leak that appears after roof cleaning may reveal an existing weakness. High water pressure can expose gaps that storms later exploit.
Temporary Fixes Can Hide Bigger Faults
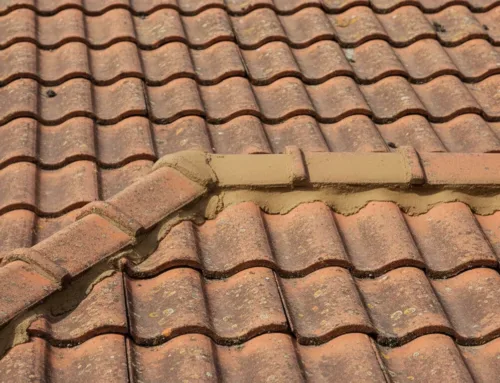
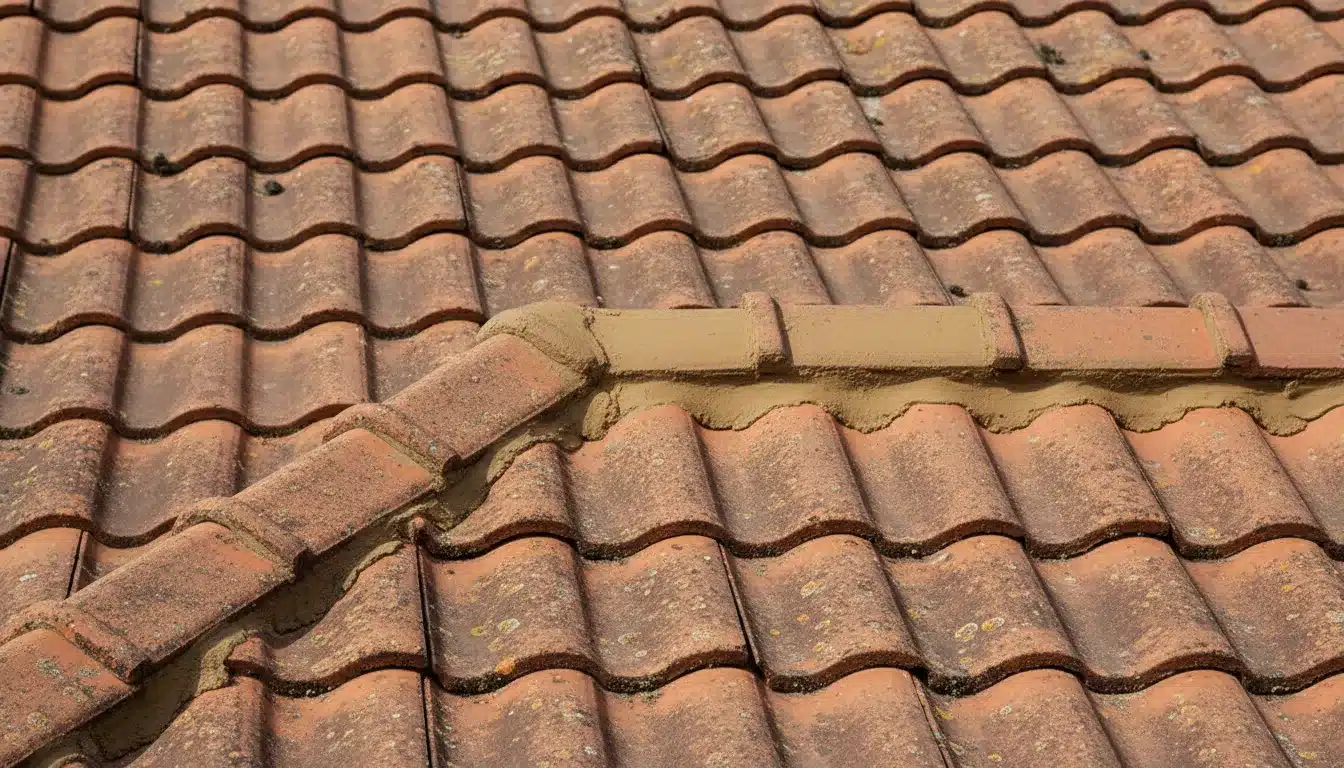
Short-term sealant patches may stop drips briefly. They rarely solve poor laps, shallow chases or bad water flow.
Painted membranes over flashing can crack when metal moves. The crack then admits water but hides the entry point.
Common patch risks include:
- Sealant placed over dusty surfaces
- Flashing edges glued instead of lapped
- Mortar packed against flexible joints
- Coatings applied over trapped moisture
- Debris left behind the repair area
Temporary work can still be useful during emergency leak control. It should be followed by a proper repair plan.
Records help during that follow-up visit. Photos, dates and weather notes can separate a flashing fault from condensation or plumbing issues.
Repair Planning for Lasting Water Control
Match the Repair to the Failure Path
Roof repairs should address the reason water entered. Replacing metal alone may fail if the wall above still directs water behind it.
The inspection should confirm roof profile, wall material and storm exposure. Nearby valleys also matter, while old or damaged gutters and downpipes may need replacement rather than a flashing-only repair.
Wall defects may need a separate masonry or cladding repair; roof work alone cannot stop water entering above the flashing.
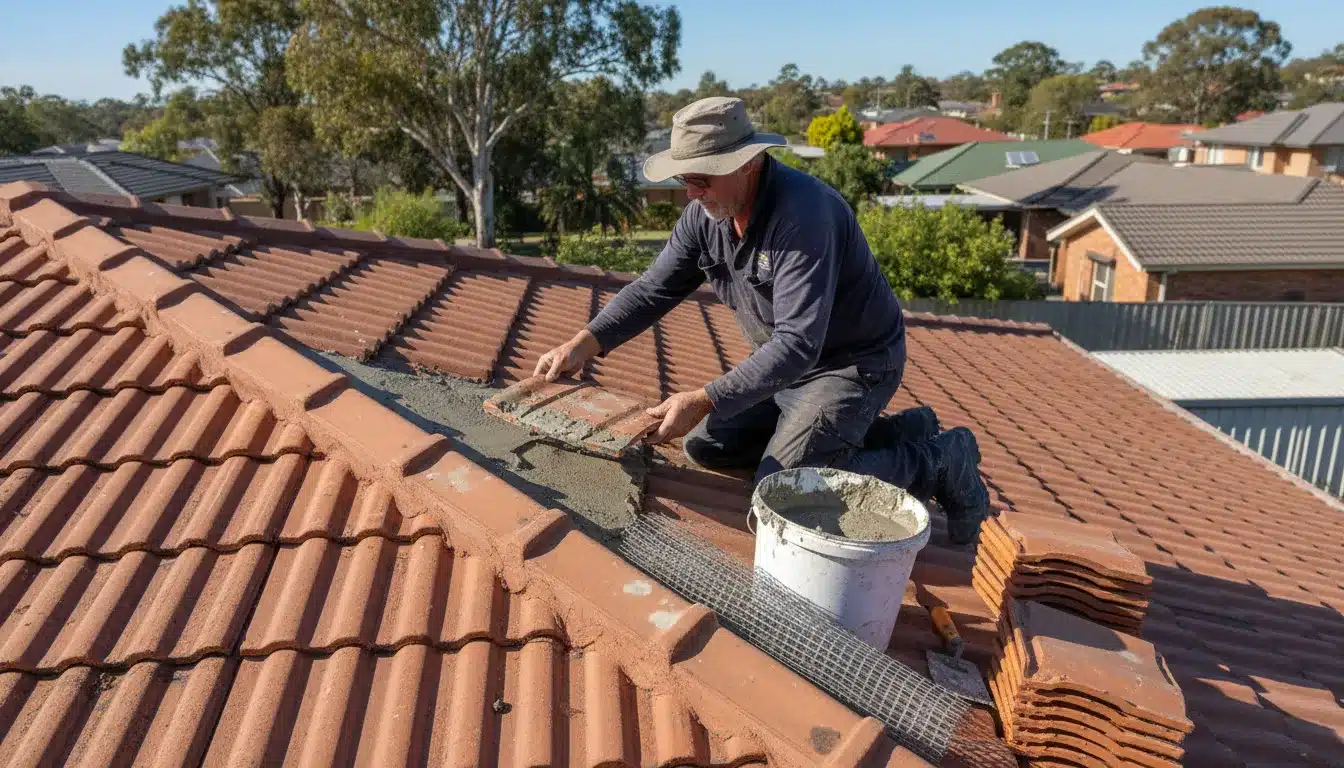
The right repair may include new flashing, fresh chasing, tile replacement or gutter correction. The scope depends on the water path.
Strong roof leak prevention often combines several small fixes. Each one reduces pressure at the vulnerable junction.
Material Choice Affects Service Life
Flashing material should suit the roof, wall and local exposure. Incompatible metals can corrode when they touch or drain onto each other.
Coated steel, aluminium and lead alternatives each need correct installation. The wrong fastener can shorten the life of the repair.
A durable repair should consider:
- Metal compatibility with existing roofing
- Correct lap direction for local water flow
- Fixing type and spacing
- Movement allowances at long wall lines
- Coating condition on surrounding roof areas
Sealants should suit exterior roofing work. General-purpose products can harden early under heat and ultraviolet exposure.
Repair timing also matters. Dry conditions help bedding, primers and sealants bond to clean surfaces.
Access should be planned before materials are ordered. Safe ladder positions and roof anchors can affect how much of the junction can be repaired in one visit.
Maintenance Protects the Repair
Flashing repairs still need routine checks. Storms, heat and building movement can change the condition of joints.
A simple inspection schedule supports roof leak prevention before ceiling damage appears. It also helps identify blocked drainage early.
Key maintenance actions include:
- Clear leaves from wall lines and valleys
- Check sealant for cracking or shrinkage
- Look for loose mortar near chases
- Confirm gutters drain without overflow
- Inspect after major wind and rain events
Roof water diversion should be reviewed when new gutters, patios or solar equipment are added. Extra runoff can change old drainage patterns.
Older homes may need more frequent checks. Age, past repairs and exposed locations can all raise leak risk.
A maintenance record gives future trades a clearer starting point. It can show when sealants were replaced and which storm events caused staining.
Maintenance should also check nearby penetrations. Vents, aerial mounts and solar brackets can shed extra water toward the same wall junction.
Small defects can combine during a storm. A loose tile, blocked channel and cracked mortar joint may act together.
Photos taken before cleaning can be useful. They show debris lines and stains that may disappear once the area has been washed.
That evidence helps set repair priority. Active leaks near bedrooms or switchboards should be addressed before cosmetic roof work.
Conclusion
Wall junctions need flashing that keeps water moving safely past chases, laps and corners. If sideways rain brings recurring leaks, contact us to arrange a free, no-obligation roof inspection and discuss the repairs your roof needs.